
The Process of Marrying the Seam
Marrying the seam is the process of trimming, aligning, and fitting two pieces of turf together so the seam disappears — no visible gap, no overlap, no ridge. It happens in four stages: understanding the gauge, trimming the edges, aligning the pieces, and securing them for the dry run.
Understanding the Gauge
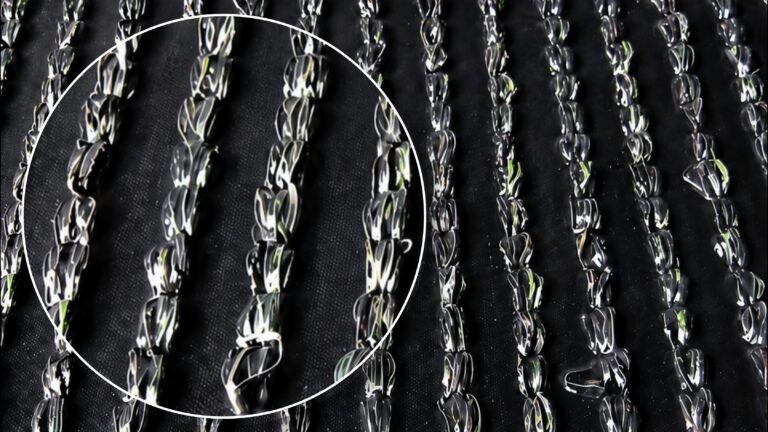
The gauge is the spacing between the rows of stitching on the turf backing — the lines that hold the grass fibers in place. Every cut you make when marrying a seam is measured against these rows, not against a tape measure. For a seamless result, the trimmed edges of both turf pieces need to line up precisely with the gauge, row for row.
Trimming for Precision
This is the step that determines whether your seam disappears or shows. The two edges of a seam are cut differently on purpose — one tight to the stitch row, one away from it — so that a 3/8″ gap forms naturally when the pieces are pushed together.Cut to the End of the Gauge
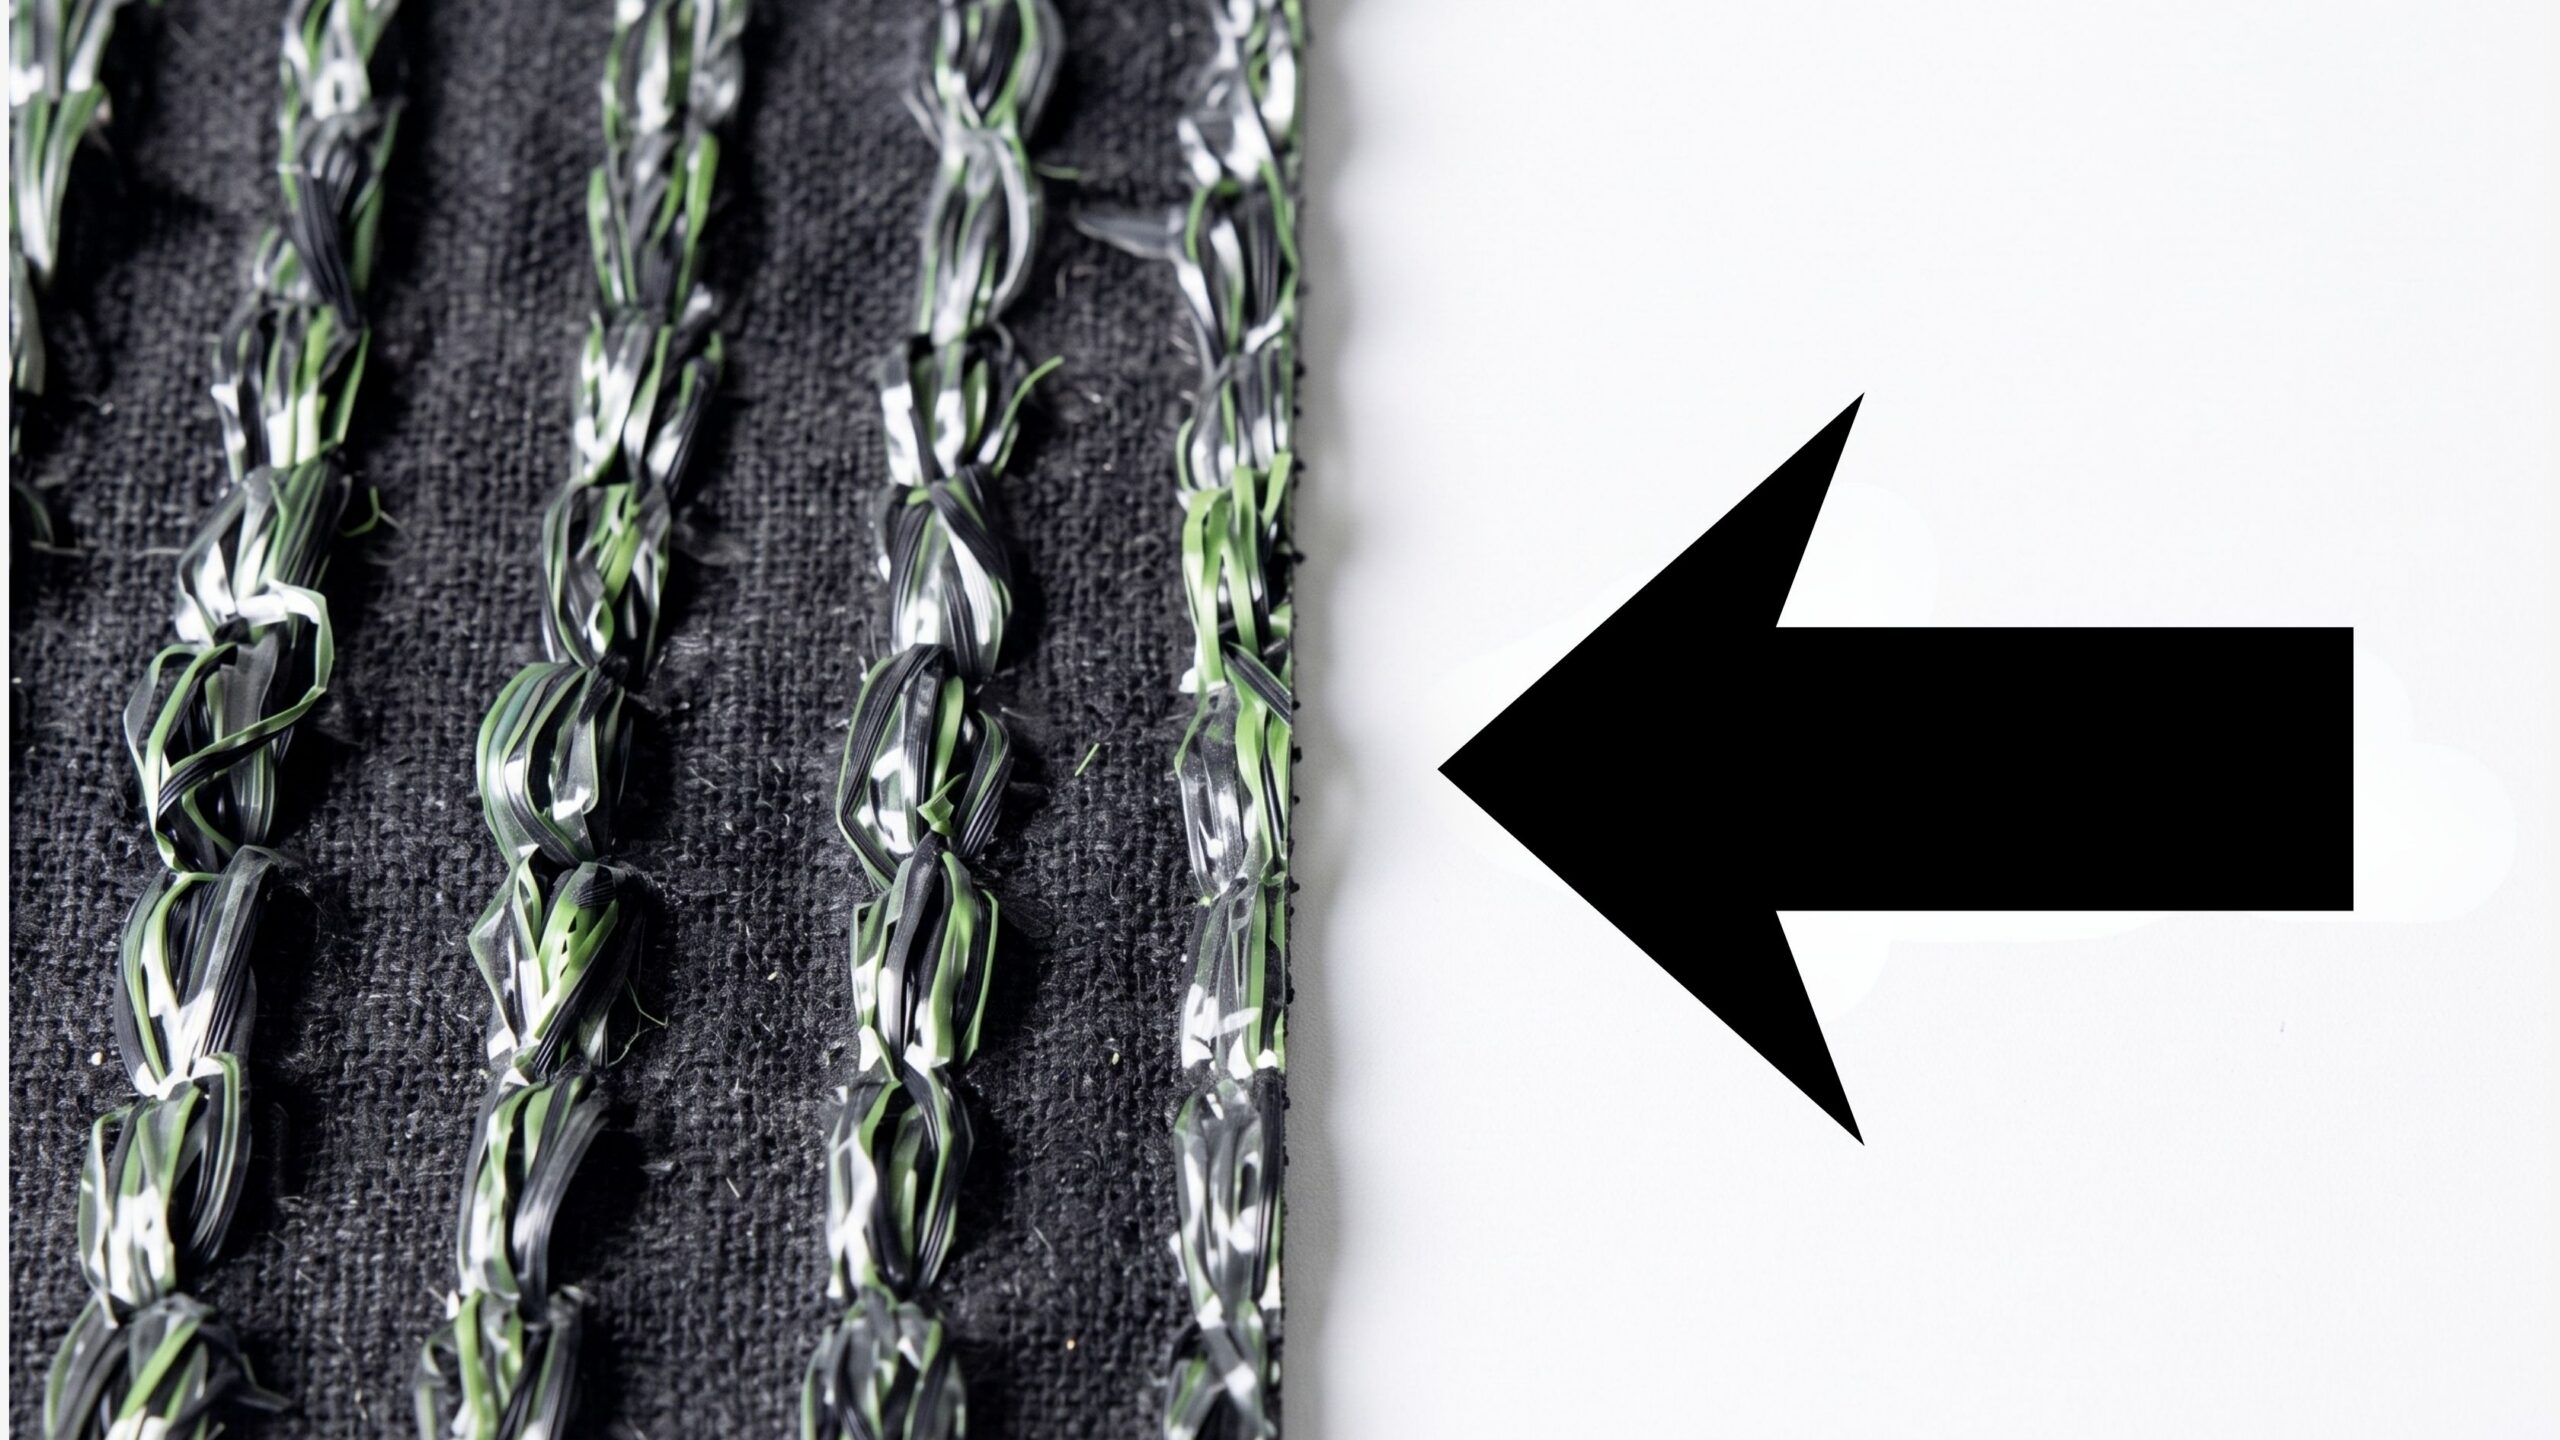
On the first piece, trim three stitch rows in, cutting tight along the outer edge of that third row. This removes the excess backing completely and leaves a clean, straight edge with no loose stitching hanging past the cut. This becomes your tight, “finished” reference edge.
Cut to the Beginning of the Gauge
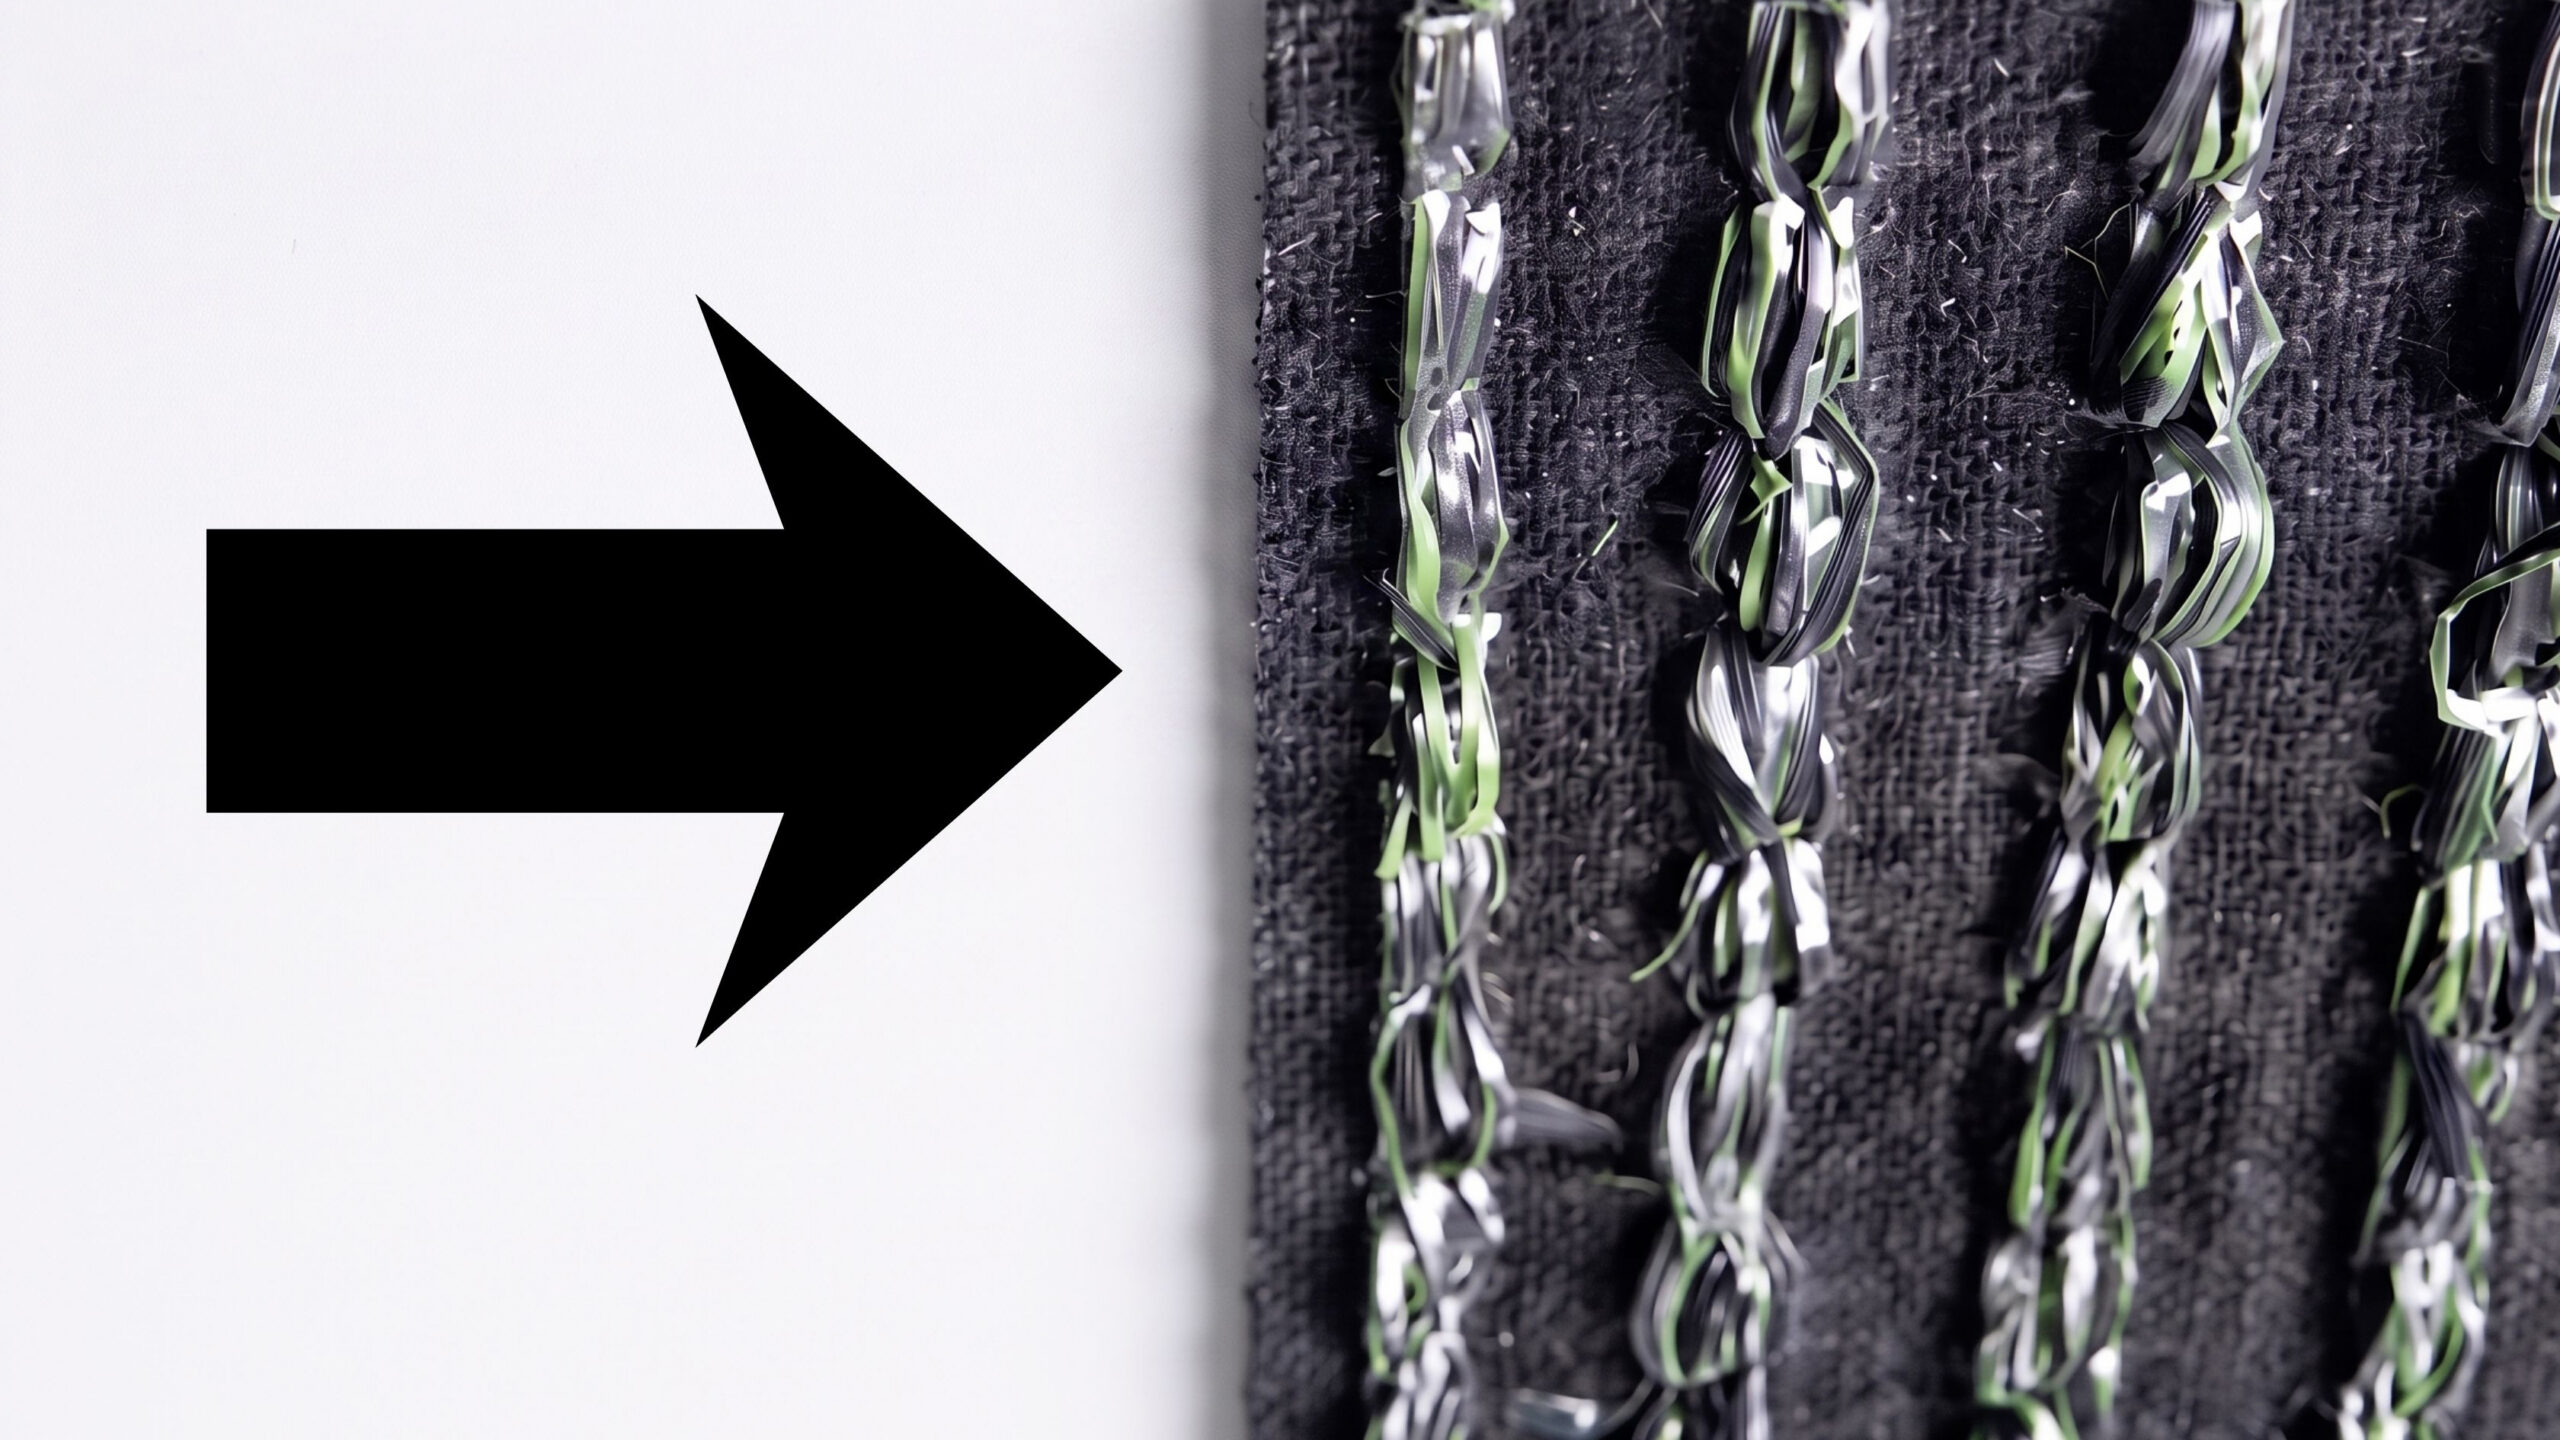
On the second piece, also trim three stitch rows in, but cut to the inner edge of the first row of stitching instead of flush against it. Leave a small sliver of backing beyond that row rather than shaving it tight.
That offset is intentional. It’s what creates the 3/8″ gap between the backing edges once the two pieces meet, while the grass fibers on top still overlap and blend into one another. Cut both sides tight and the seam will bunch and overlap. Cut both sides loose and the backing will show through as a visible gap.
Why the 3/8″ Gap Matters
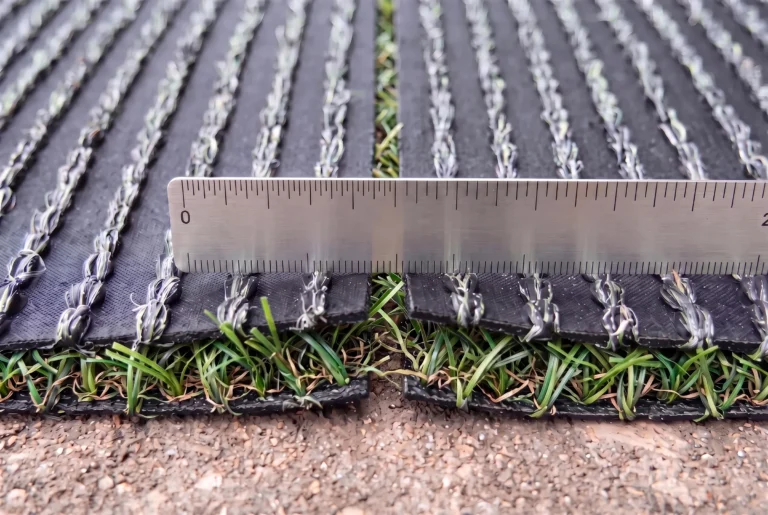
The gap isn’t something to eliminate — it’s the target measurement. It gives the backing room to expand slightly with temperature changes without buckling at the seam, while the pile height from both pieces still falls together to hide the seam line. Too tight, and the seam ridges or peaks over time. Too wide, and the backing becomes visible from a standing view.
Checking the Cut
Lay the two trimmed edges next to each other before doing anything else. Confirm:
- A consistent 3/8″ gap along the full seam length
- No stitching from either piece overlapping the other
- No backing visible through the grass from standing height
If the gap is inconsistent anywhere along the seam, re-trim that section now. It’s far easier to fix at the cutting stage than after the turf is anchored down.
Re-Align the Turf
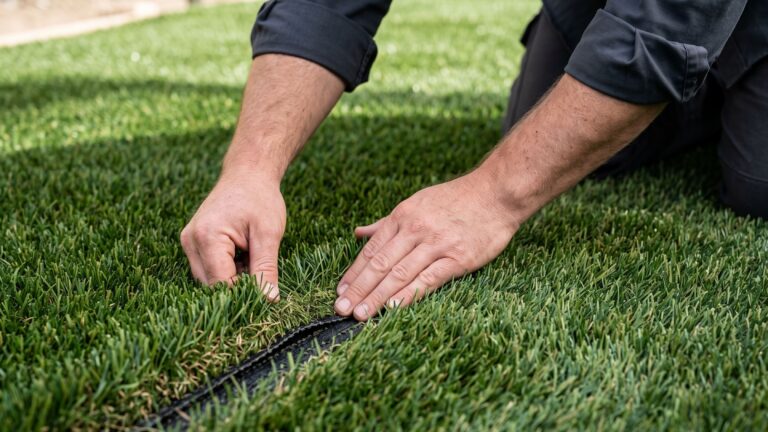
With both edges cut to spec, gradually adjust the two pieces to close in on that near-invisible seam, using the 3/8″ gap as your guide rather than eyeballing it. This often means flipping the turf over multiple times — checking the seam from underneath, making small adjustments, then flipping it back and running your hands across the top to smooth the fibers and confirm the seam has disappeared visually.
Anchor and Temporarily Secure the Seam
Lightly secure both sides of the turf with nails every 3 to 5 feet, about 1 foot back from the seam. Don’t drive the nails in fully — you need to be able to adjust. Flip the turf over multiple times to recheck the seam and confirm it stays invisible. If it becomes visible again, pull the nails and realign before continuing. This dry run confirms the cut and alignment are correct before any adhesive goes down. Fold back the turf on both sides of the seam, weighting the folded section down if needed so it doesn’t spring back before you’re ready for the next step.
READY TO GET STARTED?
Get a Free Quote for Your
Whether you're replacing a lawn, building a pet run, or sourcing for a commercial project — we'll put together a clear quote with no obligation and no pressure.
Showroom open Mon–Fri in Maple Ridge. Same-day pickup. BC-wide delivery. 15-year warranty on all products.
Get a Free Quote Call (604) 757-2899