
Putting Green Installation Guide — Premium Grass Blades
The Ultimate Guide to Installing an
Artificial Putting Green
Are you dreaming of having your own personal putting green at home? Look no further! With the right guidance and high-quality products from Premium Grass Blades, you can create a stunning artificial putting green that will enhance your golfing skills and impress your friends. In this step-by-step guide, we’ll walk you through the process of installing an artificial putting green with ease, even if you’re a beginner.
- Individually Inspected Turf
- 15-Year Product Warranty
- Free Samples: We Come to You
- BC-Wide Delivery
- Trusted by Homeowners & Contractors
Before You Start
Materials Needed
Gather everything before you begin — a smooth install starts with having the right materials and tools on hand.
Turf & Base Materials
-
Artificial putting green turf (such as Sports Putt 50 from Premium Grass Blades)PGB Stocked
-
Road base
-
Crusher dust
-
Weed barrier
PGB Stocked -
Putting green cups and flags
PGB Stocked
Tools & Equipment
-
Digging tools (shovels, spades, etc.)
-
Vibratory plate compactor (optional)Rental Available
-
Rake
-
Water source
Need a compactor? Premium Grass Blades does rent a vibratory plate compactor. Please contact us for details and cost.
Step-by-Step Instructions
How to Install Your Artificial Putting Green
Follow these ten steps in order — from excavation to final grooming — for a putting green that plays true and lasts.
1
Preparing the Area
Start by selecting a suitable location for your putting green. Clear the area of any debris and vegetation. It’s essential to dig down approximately 6 inches to create a solid base for your putting green. This depth ensures proper drainage and a stable surface.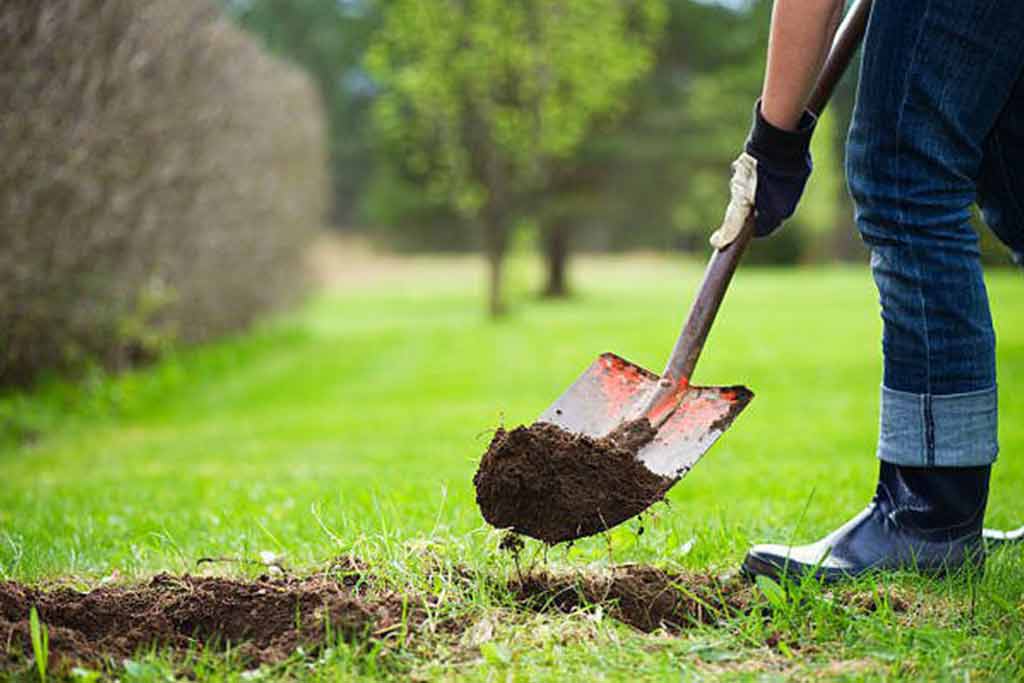
2
Building the Base
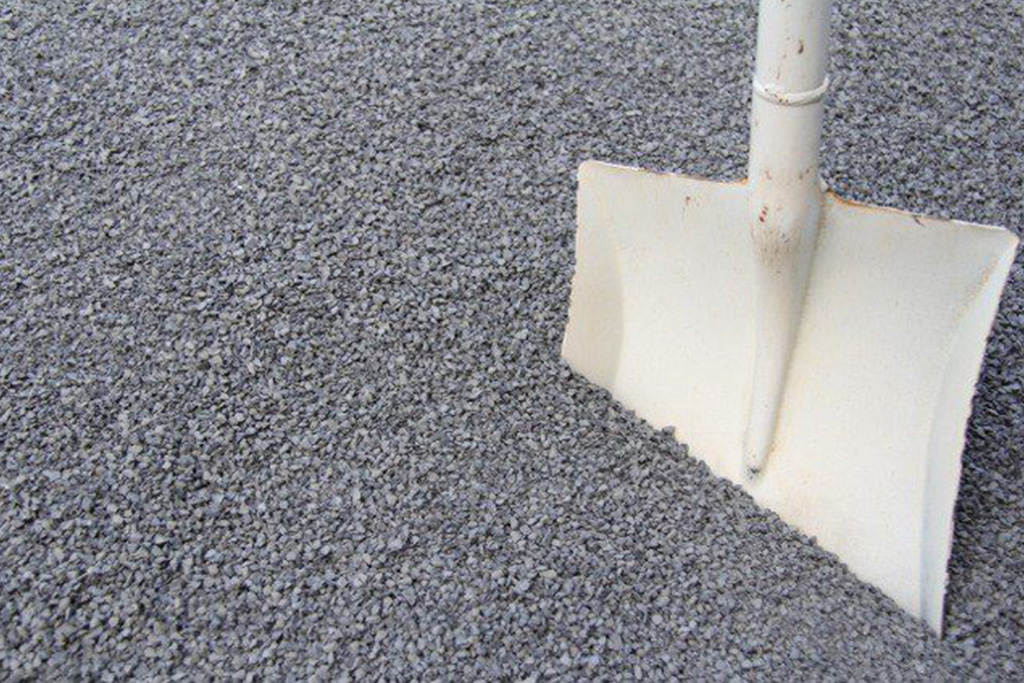
Once the area is excavated, bring the infill back up with 4 inches of road base. Spread it evenly and use a rake to level the surface. Compact the road base using a vibratory plate compactor (if available) to create a firm and even foundation. This step is crucial for the long-term stability of your putting green.
PGB Tip: Premium Grass Blades does rent a vibratory plate compactor. Please contact us for details and cost.
3
Adding the Finishing Layers
After compacting the road base, apply a layer of 1 inch of crusher dust on top. Use a rake to spread it evenly across the surface. This layer helps create a smooth and even playing surface for your putting green. Before proceeding to the next step, make sure the crusher dust is thoroughly compacted.
PGB Tip: Spray a light mist of water over the crusher dust each time you compact, as this helps to bind the crusher dust together for a solid foundation.
4
Installing the Weed Barrier
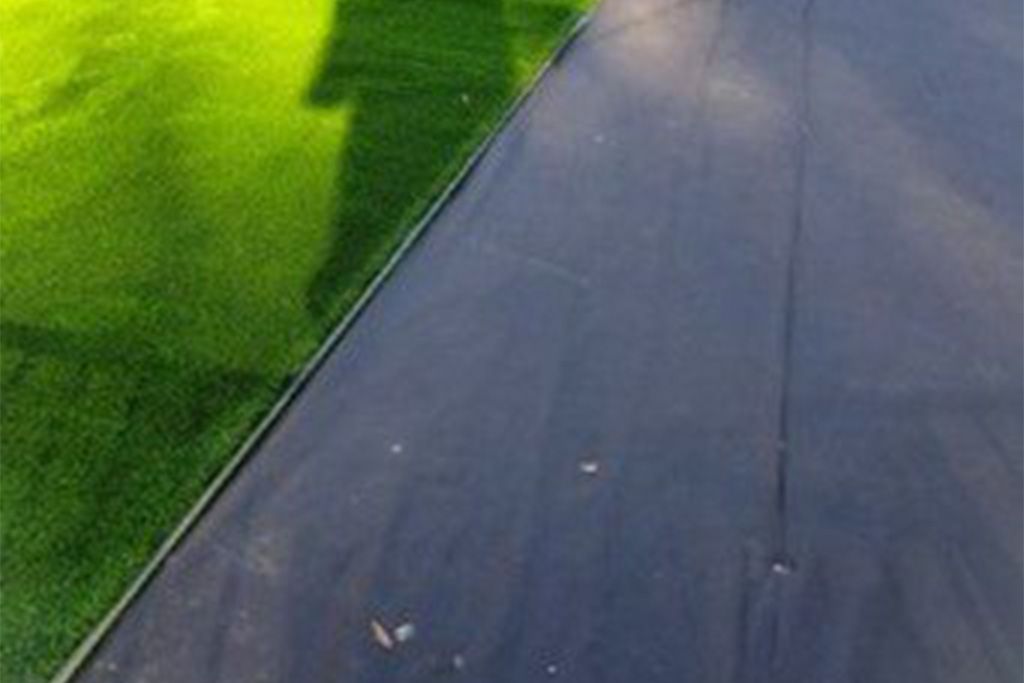
To prevent weeds from penetrating the putting green, lay a weed barrier over the crusher dust. Cut the barrier to fit the area and secure it in place using landscape staples. This step ensures that your putting green remains weed-free and low-maintenance.
- This also acts as a buffer to muffle the sound of the crusher dust between your putting green turf
- It also helps to not pull any rocks up if you need to move your turf around
5
Unrolling and Securing the Artificial Turf
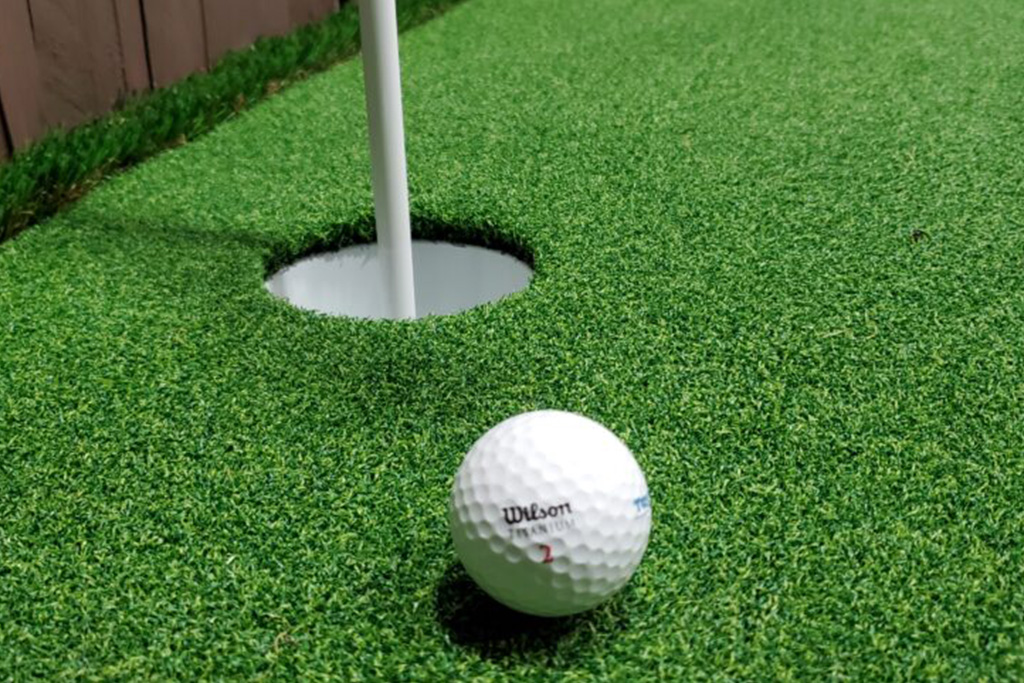
Now it’s time to install the star of the show — the artificial putting green turf. Unroll the turf carefully, ensuring that it covers the entire area. Trim any excess turf with a utility knife. Take your time to ensure a smooth and seamless installation.
⚠️ Seaming putting green should be avoided. Seaming Putting Green is very hard to do, and near impossible to get the seamline to disappear.
6
Creating Slopes and Installing Putting Green Cups
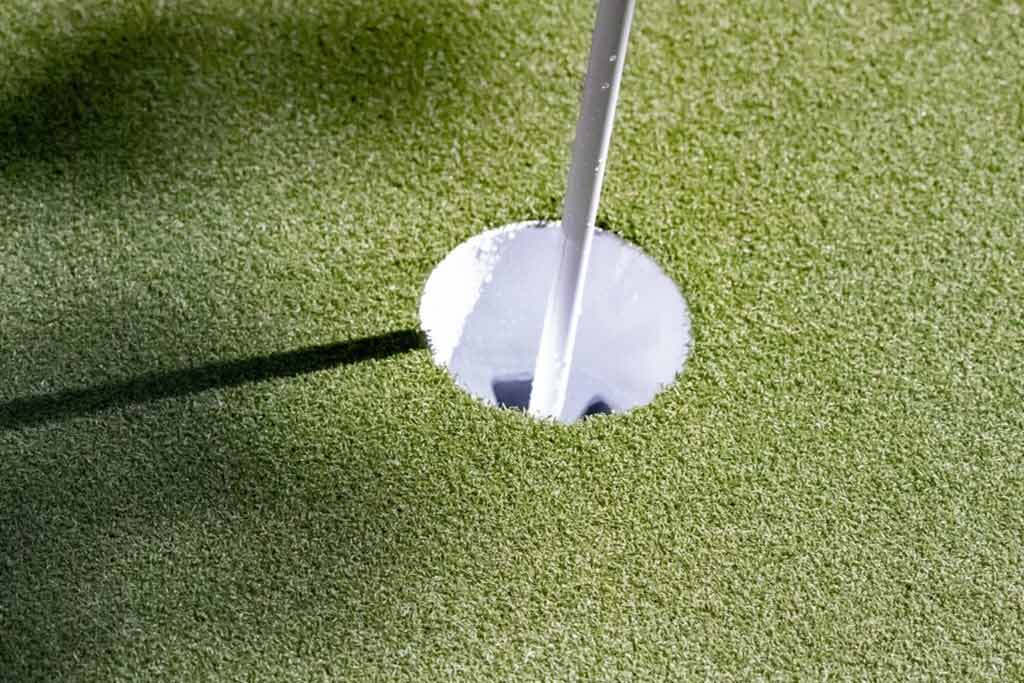
To add a challenge and realism to your putting green, create slopes and undulations using the crusher dust. This step requires shaping the surface using a rake and compacting it in specific areas. See our guide on artificial turf solutions for slopes and drainage. Make sure to create varying degrees of difficulty to keep your putting skills sharp.
⚠️ This is also hard to do , and you may want to hire a professional turf installer if you want varying degrees of slopes. Please contact us at Premium Grass Blades if you would like a professional installation.
7
Installing the Cups
A
Pull Back The Turf
B
Determine Cup Placement: Before digging, decide on the locations and spacing for your putting green cups. Typically, there are multiple cups strategically placed throughout the green to vary the difficulty levels. Measure and mark the positions where you want the cups to be installed.
C
Digging the Holes: Using a shovel, carefully dig holes at each marked position for the cups. The depth of the hole should be just below the height of the turf to ensure the cups sit flush with the surface. Make sure the holes are wide enough to accommodate the cup size and allow for a snug fit.
D
Adjusting the Hole Depth: To achieve the correct cup height, you may need to adjust the hole depth. Place a level across the hole and compare it to the surrounding turf. If the hole is too shallow, continue digging until the desired cup height is achieved. If the hole is too deep, add a layer of sand or fine gravel to raise the cup.
E
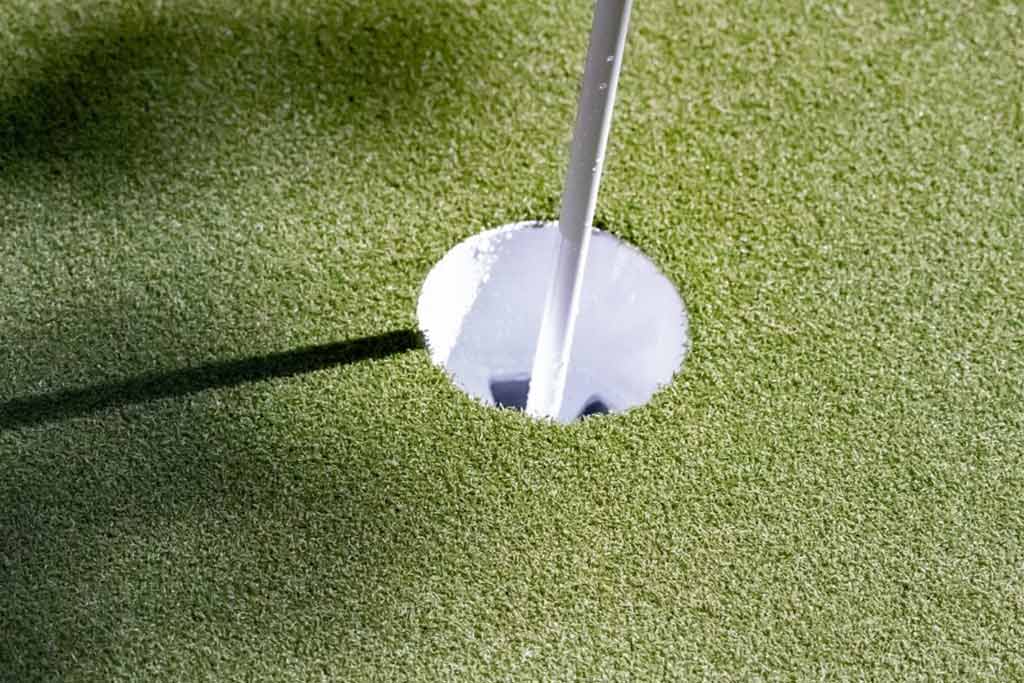
Inserting the Cups: Once the holes are prepared, take the putting green cups and insert them into the holes. Gently press them down to ensure a secure fit. The top lip of the cup should be just below the height of the turf, creating a smooth surface for the ball to roll over.
F
Leveling the Cups: To ensure the cups are level, place a level across the top of each cup. Adjust the cup’s position if necessary, making sure it is perfectly horizontal. This step is crucial for a fair and accurate golfing experience.
G
Securing the Cups: To prevent the cups from shifting or coming loose, you can add a small amount of adhesive around the base of each cup. Be cautious not to use excessive adhesive, as it may interfere with the ball roll. Also, use a 2×4 wood and rubber mallet and pound the crusher dust around the cup to compact the cup. Then put the piece of cloth or towel between the cup and the 2×4 on top of the cup, and hammer gently down to compact the cup into the ground. Do not hammer too hard to chip the cup. Again, make sure the cup sits just above the ground and almost near flush with the turf.
H
Finishing Touches: Inspect the surrounding around each cup to ensure it is smooth and flush with the cup’s lip. Clear and smooth any raised areas of crusher dust around the cups.
I
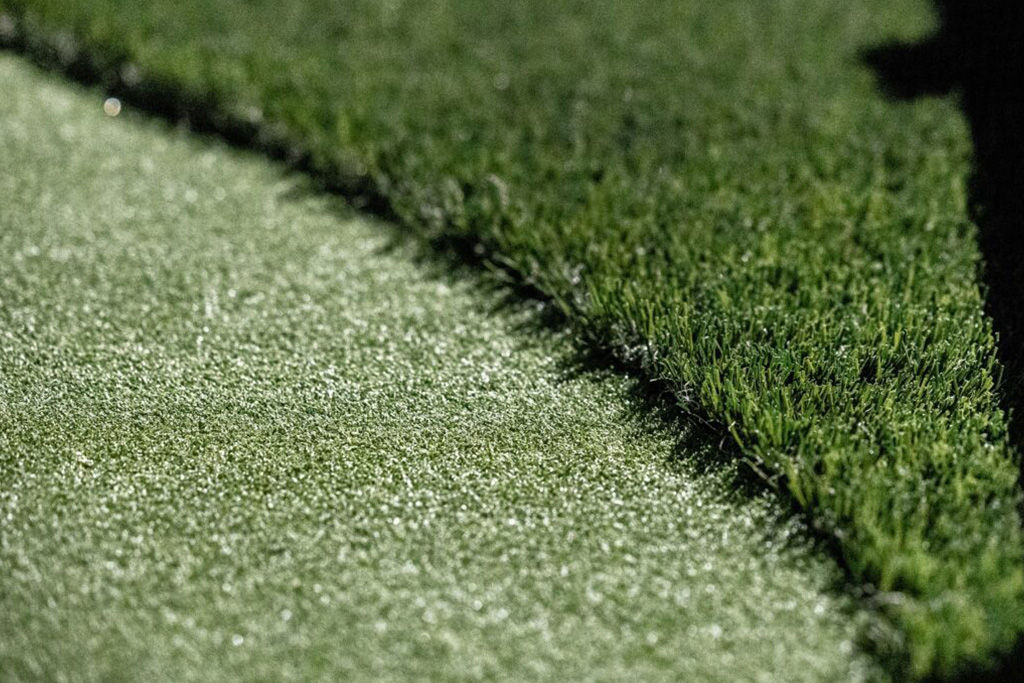
Cutting the Turf Around the Cups: Pull the turf back over the cups and see where the cups are located due to the cups slightly being above the surface. Make sure to align the putting green turf to where you want it. When you find the center of the cup, drill a hole in the center and then star shape to the cup’s inside edges. Make sure not to scrap the cups. Then cut the inside of the turf in the cup in a circular motion. Adjust the turf so it fits snugly around the outside of the cup.
8
Install the Fringe
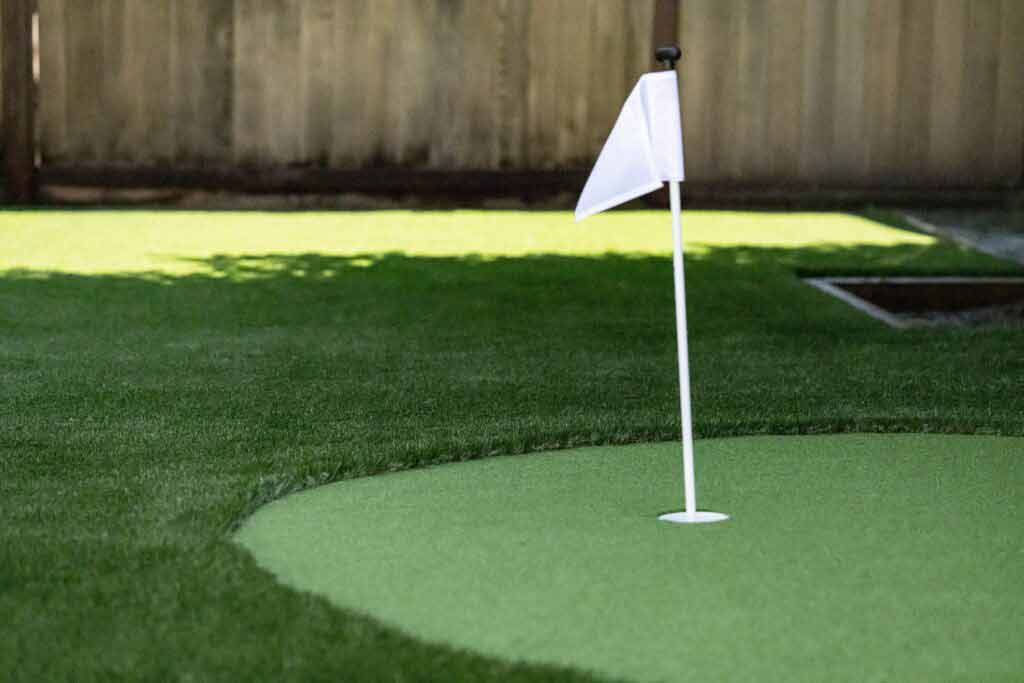
Make sure to follow the seaming techniques in the artificial turf installation as well as how to nail down and install proper infill.
9
Installing the Putting Green Infill
This is one of the most important aspects of installing the putting green turf. Without proper infill, the ball will not roll consistently, and the putting green could shrink and expand excessively in the summer. The durability and longevity of the putting green is directly related to the infill within the turf.
- Ensure that your artificial putting green is clean and free from debris or excess dust. Brush or power broom the surface to remove any loose particles and create an even base.
- Using a drop spreader or broadcast spreader, evenly distribute the silica infill across the surface of the putting green. Start at one end and work your way to the other, ensuring consistent coverage throughout. Be mindful of any sloped or undulated areas and make sure the infill reaches all corners and edges.
- You should spread 2 lb to 2.5 lbs of silica sand per square foot of fine silica sand, which can be purchased at Premium Grass Blades. The putting green should look like a beach.
- After spreading the sand over the putting green, take a stiff bristle brush and wiggle the sand down into the base of the turf fibers. Do this in a wiggling forward and backward motion. You can then use a power broom to ensure the sand is evenly distributed.
- Repeat the Process: To achieve the desired depth and density of infill, repeat the above steps spreading and brushing in the silica infill in multiple passes. This process ensures optimal coverage and proper compaction of the infill material.
- Inspecting and Adjusting: After the initial application and brushing, inspect the putting green surface to ensure the infill is evenly distributed and at the desired depth. If necessary, add more infill to any areas that may appear sparse or require additional support.
- Testing and Adjusting Ball Roll: Once the infill is evenly distributed and brushed in, roll some golf balls across the putting green to test the ball roll and surface performance. Observe the ball behavior and adjust the amount of infill if needed. The goal is to achieve a smooth, consistent, and true ball roll.
⚠️ Call
10
Finishing Touches and Maintenance
Once the installation is complete, walk over the entire putting green, checking for any uneven areas or loose turf. Smooth out any imperfections and ensure the turf is secure. Install the poles and flags.
Maintenance: To maintain your putting green’s pristine appearance, regularly brush the turf with a stiff-bristled broom or a power brush. Remove any debris or leaves that may accumulate.
6″
Excavation depth for a solid base
2–2.5
Lbs of silica sand per sq ft
5
Putting green turf lines in stock
15yr
Product warranty on all PGB turf
Premium Grass Blades: Your Putting Green Solution
Everything for Your Putting Green — In Stock in Maple Ridge
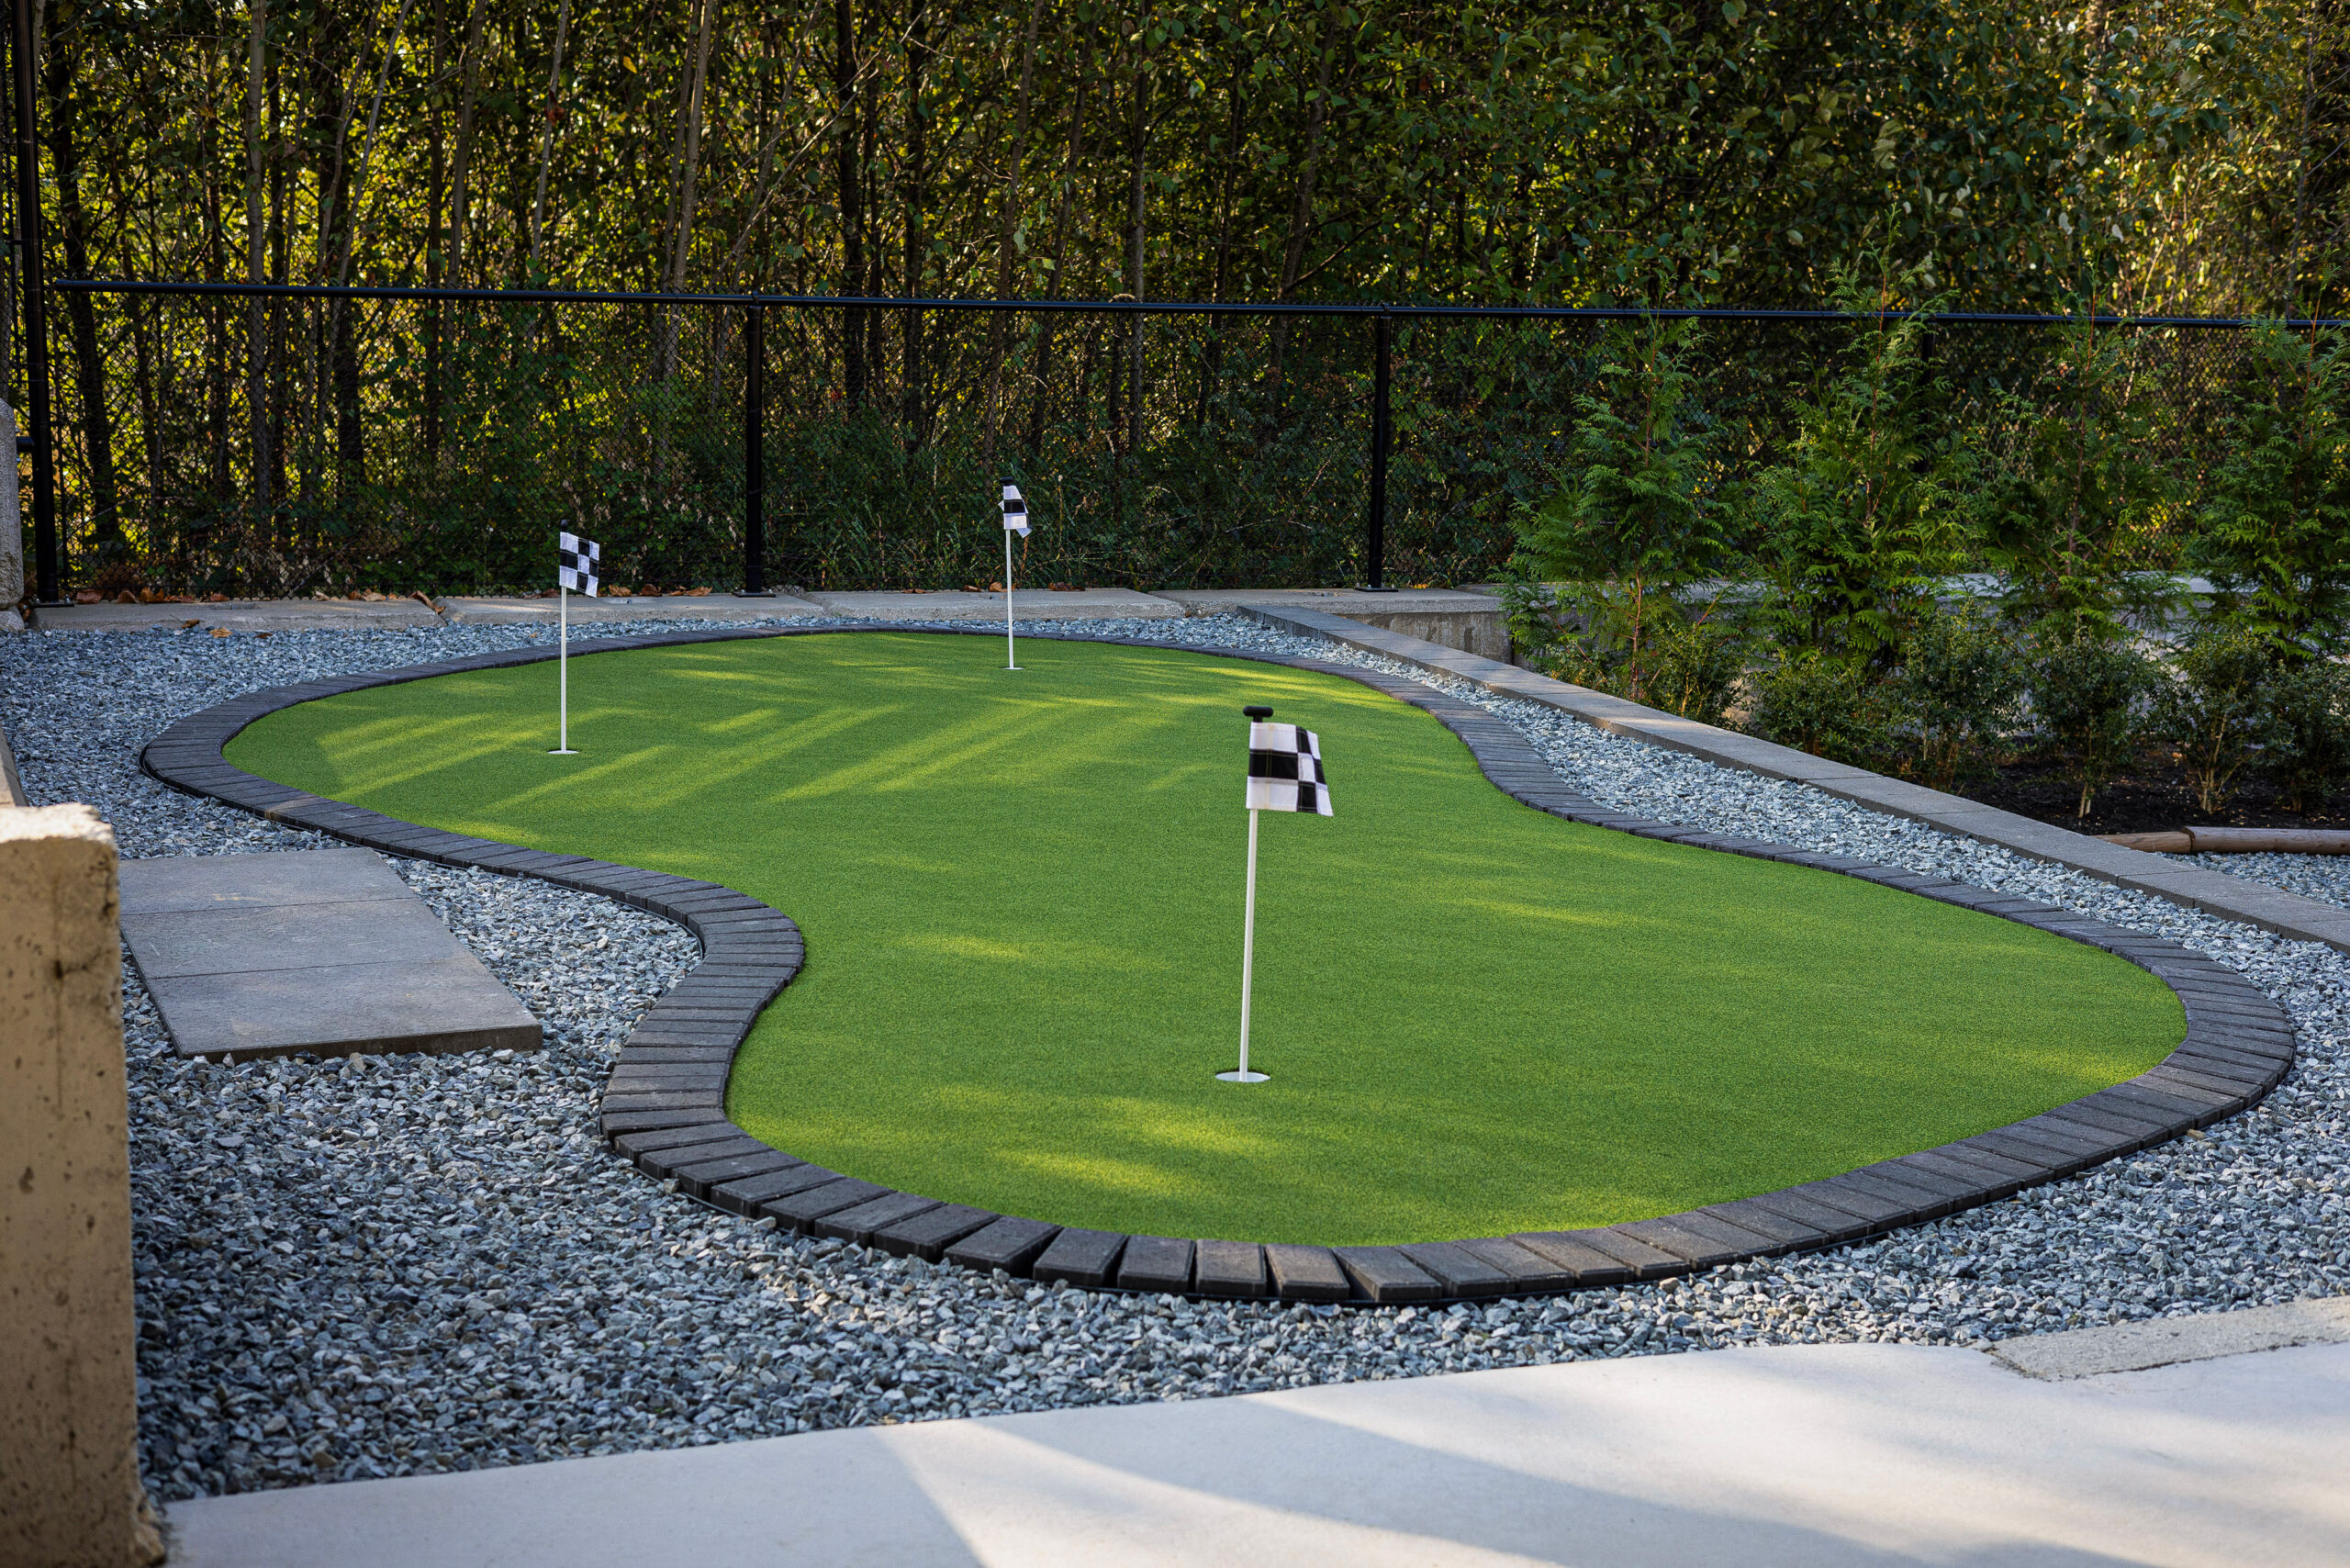
For a superior putting experience, trust the high-quality products from Premium Grass Blades. Our Sports Putt 50 artificial turf is specifically designed for putting greens, providing a true ball roll and excellent durability.
Start Here
Putting Green Turf
PGB Classic Putt 50, Tournament Putt 50, Prestige Putt 58, Masters Putt 63, and Nylon Putt 55 — designed for a true ball roll and excellent durability.
Install Essentials
Cups, Flags & Fringe
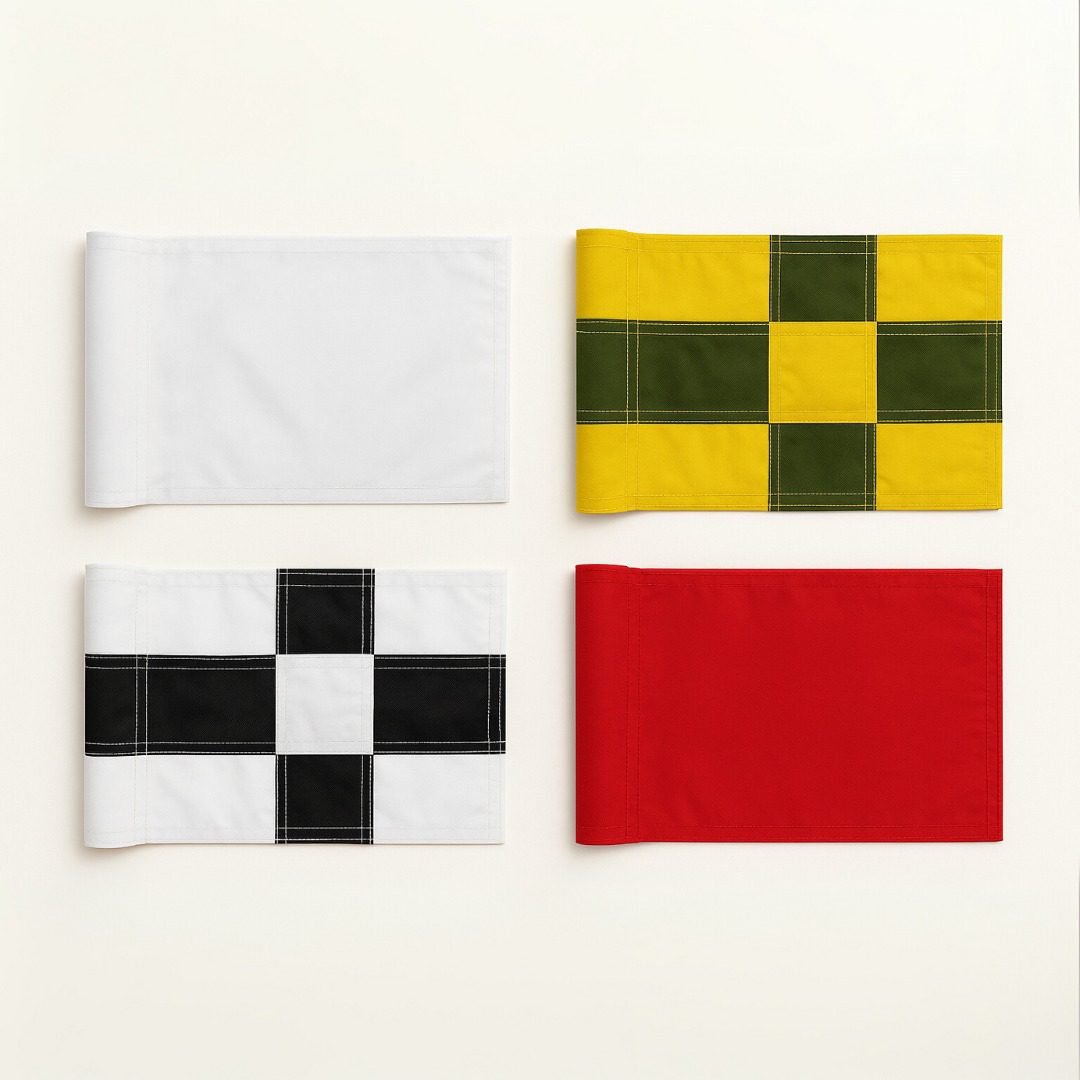
Putting green cup kits (3, 4, and 5 pieces), individual cups, lids, poles, flags, plus turf pad and fringe options to finish the green.
Infill & Base
Putting Green Silica Sand
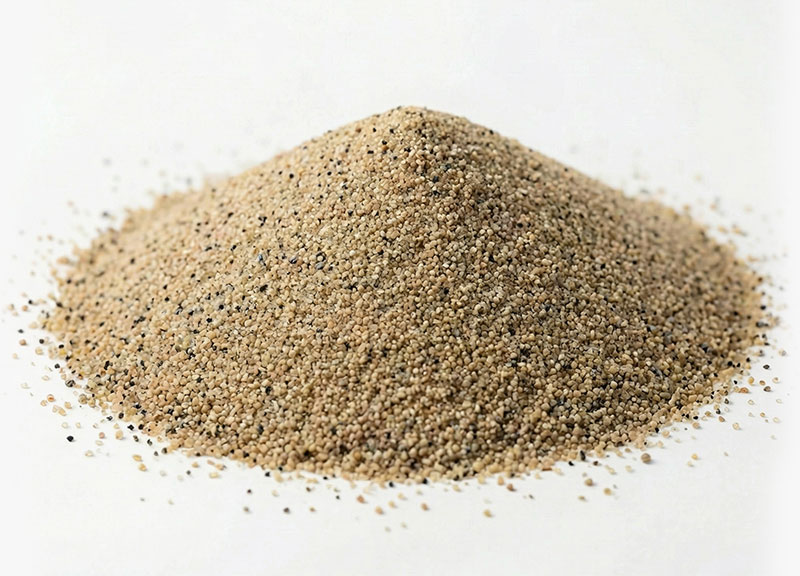
Fine silica sand for putting greens — the infill that keeps the ball rolling true. Weed barrier and compactor rental also available.
Not sure what to order? Share your square footage and project details with our team before you buy. We’ll confirm your material quantities — turf, road base, crusher dust, weed barrier, cups, and silica sand — so you don’t show up short or over-order.
Putting Green Questions
Frequently Asked Questions
The most common questions BC homeowners ask before installing a backyard putting green.
Dig down approximately 6 inches. Bring it back up with 4 inches of compacted road base topped with 1 inch of crusher dust. This depth ensures proper drainage and a stable, smooth playing surface.
Spread 2 to 2.5 lbs of fine silica sand per square foot — the green should look like a beach before brushing. Work it in with a stiff bristle brush in multiple passes until the ball rolls smooth and true.
Seaming putting green is very hard to do, and near impossible to get the seamline to disappear. Seaming putting green should be avoided — plan your green within a single piece of turf wherever possible.
No — do not nail down the putting green as it will create divets in the turf. The silica sand infill provides the weight that holds the green in place.
Yes — shape slopes and undulations in the crusher dust layer using a rake, compacting as you go. It's hard to do well, so if you want varying degrees of slopes, consider hiring a professional turf installer. Contact us if you'd like a professional installation.
Premium Grass Blades rents a vibratory plate compactor — the key piece of equipment for a firm, even base. Contact us for details and cost.
Regularly brush the turf with a stiff-bristled broom or power brush and remove any debris or leaves that accumulate. That's typically all it takes to keep the surface playing true.
READY TO START YOUR PROJECT?
Tell us about your putting green — we’ll help you plan it.
Whether you’re ready to order or still sketching your dream green, our team is here to help. Share your project details and we’ll come back with turf recommendations, material quantities, and answers to any questions — no obligation.
- Free material quantity estimate based on your square footage
- Putting green turf recommendation for your play style and budget
- Cup, flag, and fringe guidance so you buy right first time
- Compactor rental details and cost
- Professional installation referral if you'd rather not DIY
- No pressure — just practical help from a BC turf supplier
Plan My DIY Install
We respond within one business day.
🔒 We reply within 1 business day. No spam, no pressure.
YOU’VE GOT THIS – AND WE’VE GOT YOU
Your DIY Install Starts With the Right Materials and a Solid Plan.
Premium Grass Blades has been helping
Visit our Maple Ridge showroom to see every turf product in person, request a formal written quote online, or call our team to discuss your strata project in detail.