How to Install Artificial Grass at Home
Learning how to install artificial grass starts well before you unroll the turf.
A good-looking finished lawn depends on what happens underneath it: planning the layout, removing the existing lawn, preparing drainage, building a stable base and compacting it properly. The turf is the part everyone sees, but the groundwork is what gives the finished area its shape and support.
For a BC homeowner considering a DIY project, here is the basic sequence and where it pays to slow down.
1. Plan the Artificial Grass Installation First
Start with the site, not the turf roll.
Measure the area carefully and sketch the shape of the yard. Mark patios, garden beds, trees, stepping stones, drains and other fixed features. Think about where water currently travels during heavy rain and where it needs to go after the project is finished.
Your layout also affects how much turf you need and where seams may fall. A little planning here can reduce awkward cuts and help keep seams away from highly visible areas where possible.
This is also the time to check access. Removing sod and bringing in base material involves more than a utility knife and a free Saturday afternoon. Consider how material will enter and leave the property and whether equipment can reach the work area.
Before digging, contact BC 1 Call and follow the appropriate requirements for locating underground utilities. Wear suitable protective gear and follow product instructions throughout the project.
PGB’s planning guidance for artificial turf projects provides more detail on the decisions that should happen before turf goes down.
2. Remove the Existing Sod and Prepare the Area
For a typical lawn conversion, the existing grass, roots and loose organic material need to come out.
The goal is to reach suitable ground for building the new base. Leaving unstable organic material underneath can create problems later as that material breaks down or shifts.
Take your time around irrigation components, edging, tree roots and buried services. If something underground is unclear, stop and identify it before continuing.
Once the area is cleared, check the grade. Artificial turf needs somewhere for water to go. The finished surface should work with the site’s drainage rather than trap water against a house, retaining wall or other structure.
This is one reason every yard should be treated as its own project. Soil conditions, slope, drainage and intended use can change how the base should be prepared.
3. Build and Compact the Base Properly
If there is one stage where rushing can come back to haunt you, this is it.
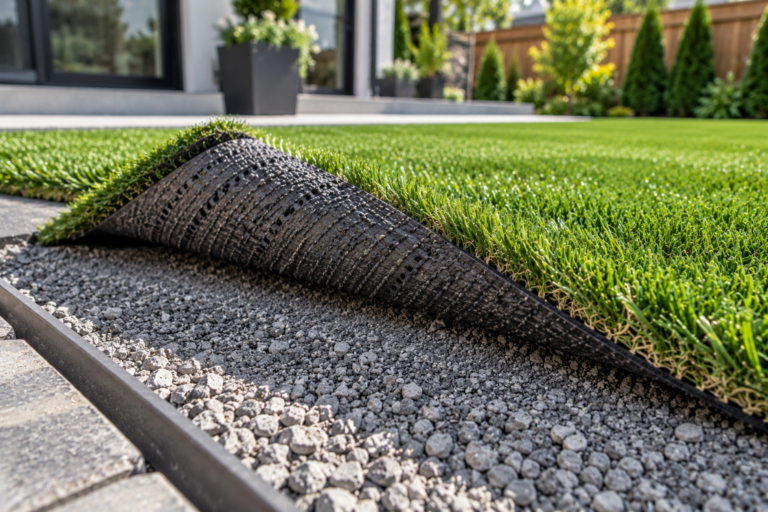
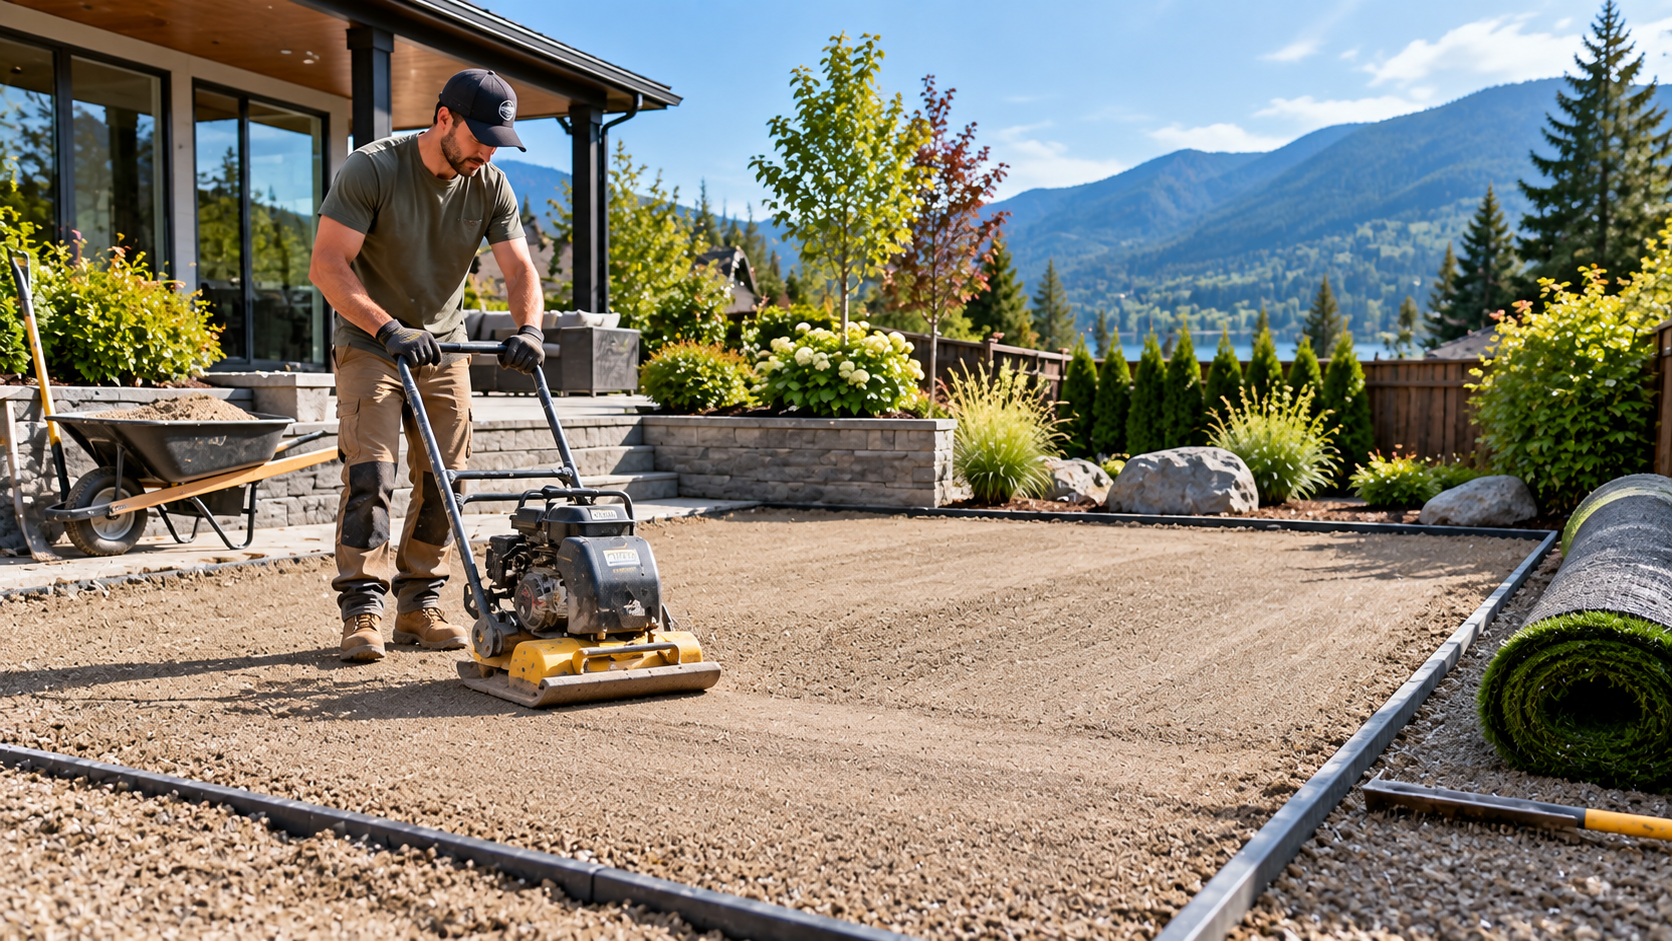
The base provides a stable, properly graded surface beneath the turf. The appropriate base material and depth depend on the site and project, so follow PGB’s current installation guidelines rather than relying on a one-size-fits-all number.
Place the specified base material, establish the required grade and compact it thoroughly according to the guidelines.
Compaction is part of the job, not a finishing touch you can skip when everyone is hungry for lunch.
Pay attention to low areas while you work. Small imperfections underneath can become much easier to notice once turf is laid over them.
Drainage also deserves attention at this stage. If the existing yard has persistent pooling or another drainage problem, laying artificial grass over the area does not fix the underlying cause. Deal with drainage as part of the site preparation.
4. Lay Out and Cut the Turf
With the base prepared, the project finally starts looking like a lawn again.
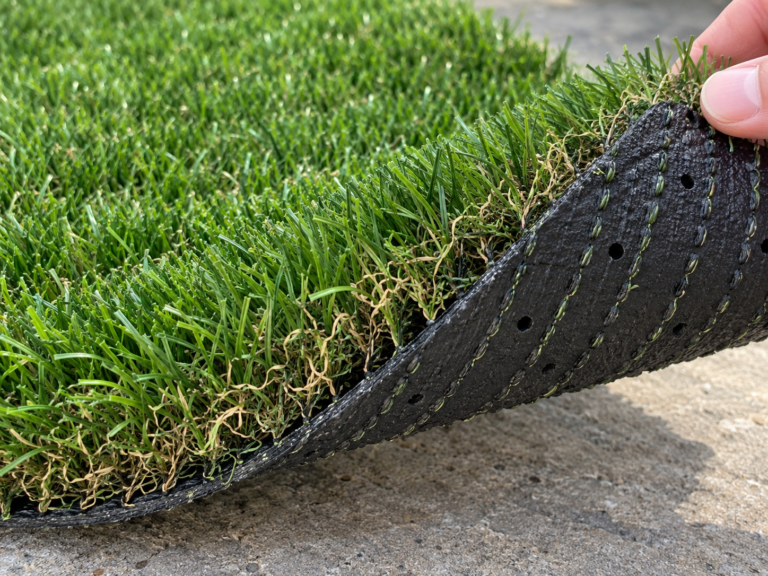
Roll out the turf and position it before making final cuts. Check the direction of the fibres across each piece. Adjacent sections should be oriented consistently so the finished lawn has a more uniform appearance.
Let the material sit flat according to PGB’s installation guidance, then work carefully around edges, curves and obstacles.
Cut from the backing side where appropriate and use a sharp blade. Replace dull blades rather than forcing them through the backing. A clean cut gives you much better control along patios, garden beds and other borders.
Avoid trimming away too much material at once. You can always make another careful cut. Putting turf back on is considerably harder.
A neatly fitted perimeter makes a noticeable difference to curb appeal. Straight edges, clean transitions and thoughtful layout help the finished yard look like part of the property rather than something placed on top of it.
5. Take Your Time With Seams
Seaming is one of the more demanding parts of learning how to install artificial grass.
Where two pieces meet, the backing needs to be positioned correctly without trapping fibres in the joint. The gap between sections also needs careful attention. Too much space can make the seam noticeable, while poor positioning can create bunching or an uneven appearance.
Use the seaming materials specified for the project and follow PGB’s instructions for placement and bonding.
Before securing anything permanently, step back and inspect the joint from several angles. Check the fibre direction again. Make adjustments while you still can.
For a large lawn with several seams, this may be the point where an experienced independent installer earns their keep.
6. Secure, Infill and Brush the Turf
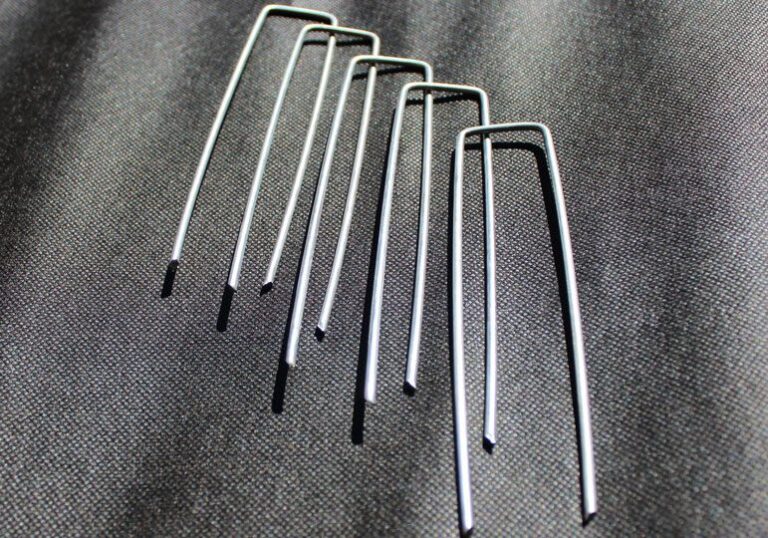
After the turf is fitted and the seams are completed, secure the perimeter and other required areas using the method specified in PGB’s installation guidelines.
Next comes infill.
Infill supports the turf system and should be applied at the advised amount for the turf and application. Follow the instructions for your selected product rather than estimating by appearance. Turf that is not infilled to the advised amount may not be covered by the PGB Limited 15-Year Product Warranty.
Spread the infill evenly and brush the turf as directed so the material settles into the fibres. A turf broom rake can help work the surface and lift fibres after installation.
The finished lawn should have clean edges, consistent fibre direction and a surface that follows the intended grade.
DIY or an Independent Installer?
Some homeowners enjoy taking on a turf project themselves. Others get halfway through estimating how much sod needs to leave the backyard and reconsider.
Both routes are reasonable.
DIY may suit a straightforward, accessible area and a homeowner comfortable with excavation, grading, compaction, measuring and precise cutting. Following PGB installation guidelines and product instructions is important throughout the project.
More complicated sites can justify bringing in an experienced independent installer. Multiple seams, difficult access, drainage concerns, unusual shapes and significant grading work can all add complexity.
PGB supplies artificial turf and installation accessories. PGB does not perform turf installation, but can refer customers to independent installers who contract directly with the homeowner. 02 PGB Writer Reference (upload…
Whichever route you choose, don’t judge the job solely by how quickly the green material goes down. Base preparation, drainage, seams and infill deserve most of your attention.
That work is what helps a finished artificial lawn look tidy from the sidewalk and stay usable through regular outdoor life.
For your next project, call 604-757-2899 to talk through your turf and material needs.