Installation guide for synthetic turf

Artificial Turf

Welcome to the Artificial Turf Installation Guide by Premium Grass Blades. This comprehensive guide offers step-by-step instructions for transforming your space with ease. Designed with durability and aesthetics in mind, our turf solutions ensure straightforward installation. Join us as we pave the way for greener horizons.
BEFORE YOU START
HERE ARE SOME TOOLS & SUPPLIES YOU WILL NEED

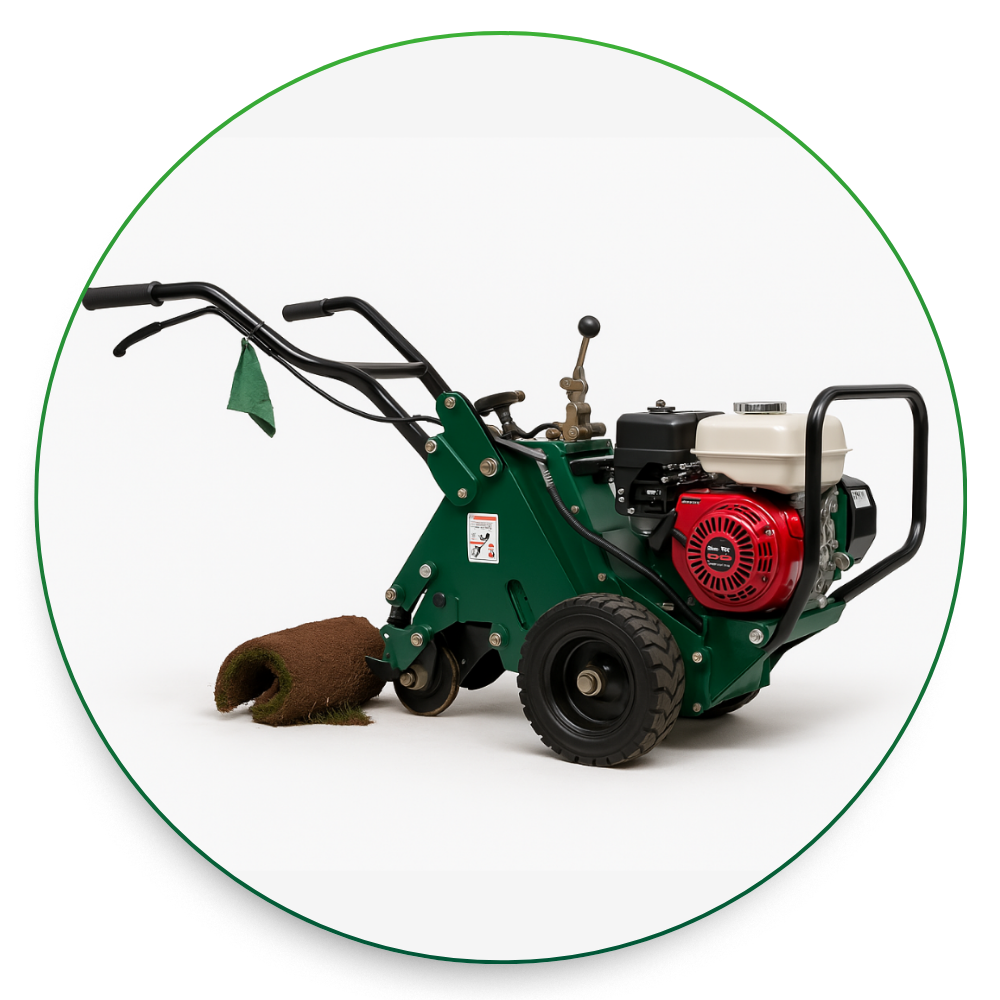
Turf Cutter: This tool quickly removes grass or turf by slicing beneath it, allowing for easy roll-up and removal, reducing time and effort compared to digging by hand.

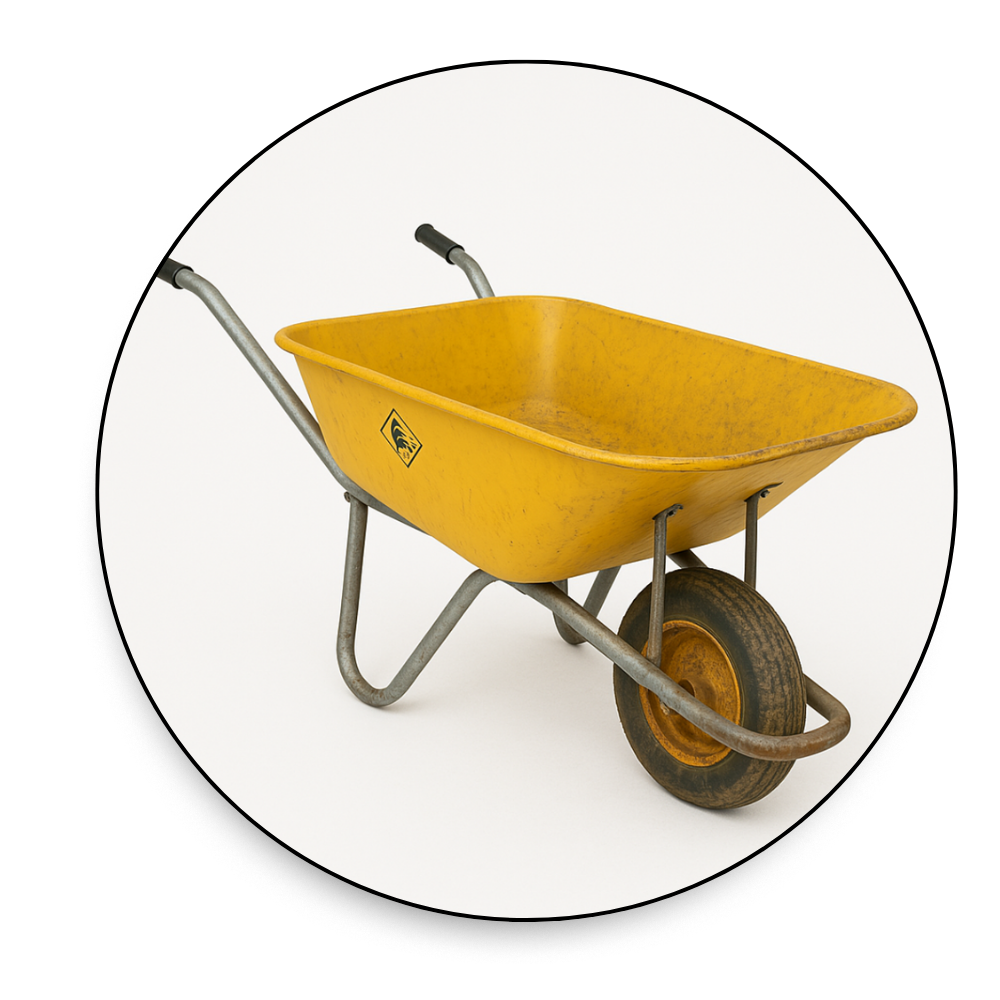
Wheelbarrow: Essential for transporting excavated soil, debris, and new base materials to the site. A sturdy wheelbarrow can handle heavy loads and make the job easier.

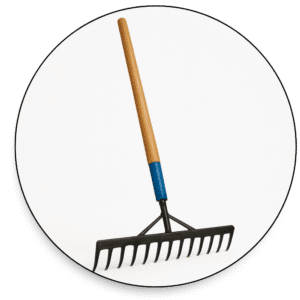
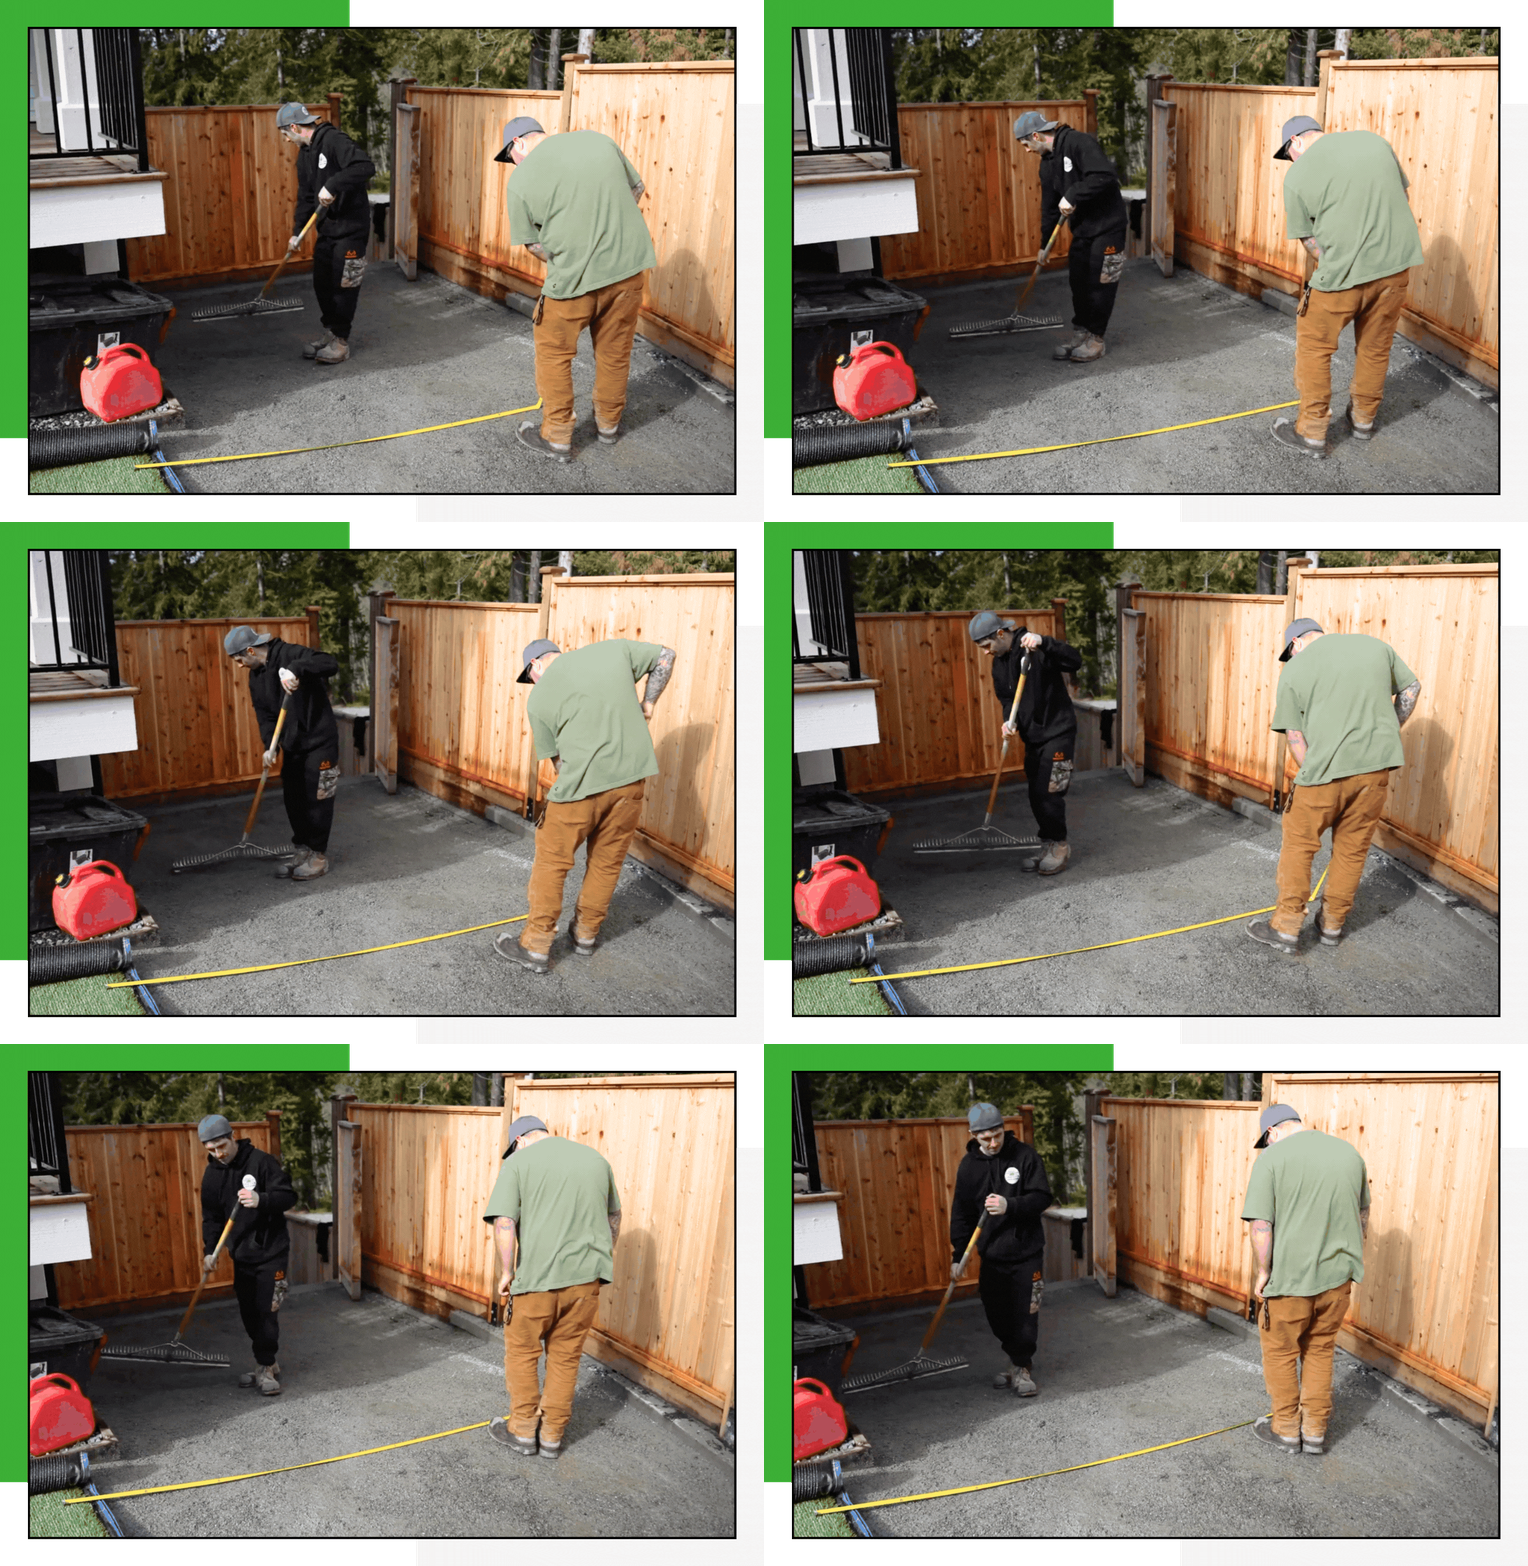
Landscape Rake and Hand Tamp: After excavation, a landscape rake is used to level and grade the soil, while a hand tamp (or manual tamper) A helpful for compacting soil M smaller areas where a plate compactor might not reach.

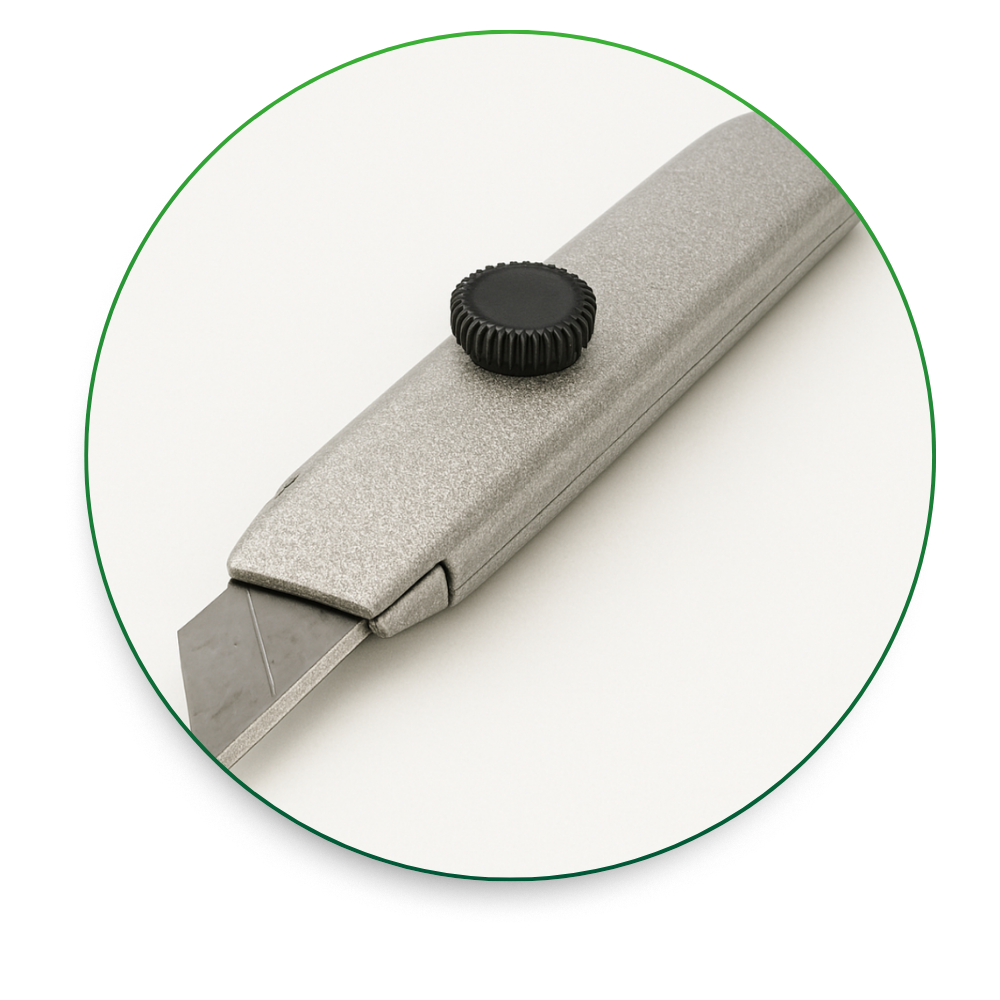
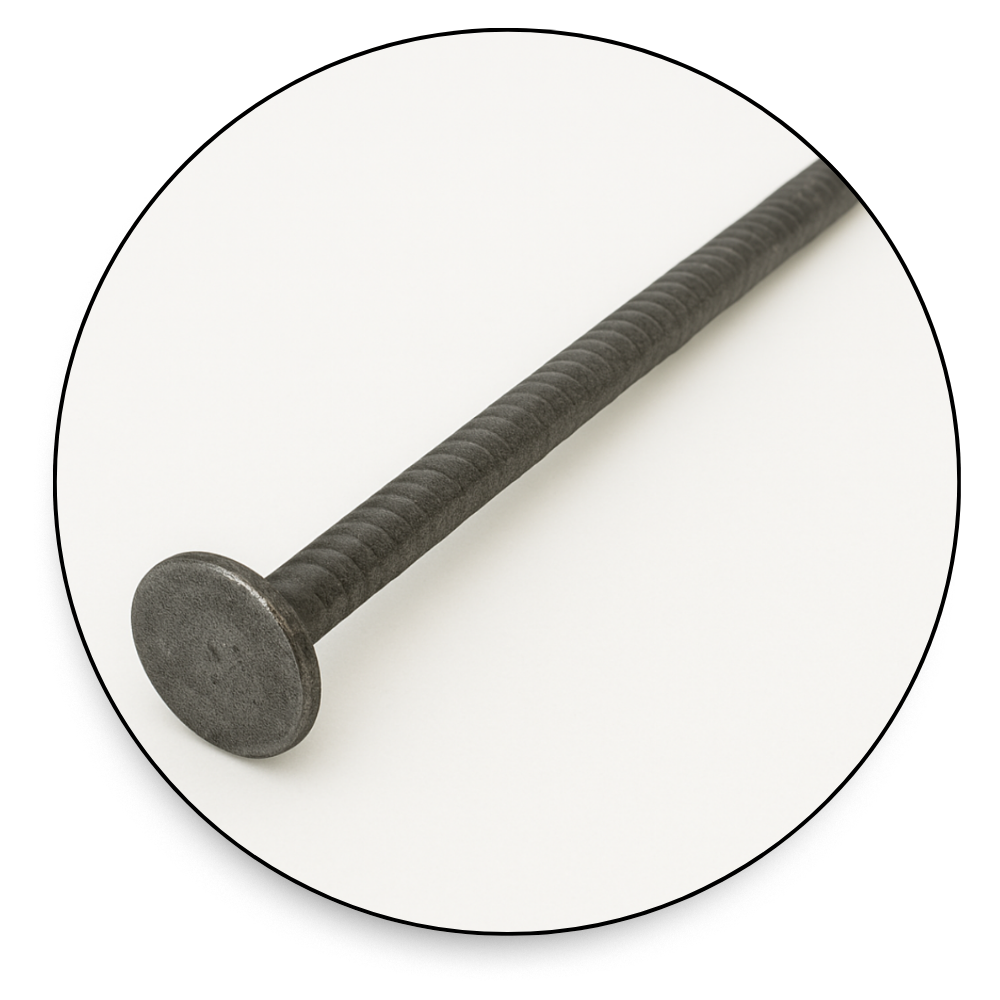
Shovel, Pickaxe, Hammer & Utility Knife: These tools are essential for breaking up soil, clearing roots, rocks, Si debris. A pickaxe efficiently breaks hard soil, while a hammer drives nails into the ground. A sharp utility knife is necessary for cutting the turf to fit your installation area’s specific dimensions and shams. Turf blades can dull knives quickly, so have extra blades on hand.

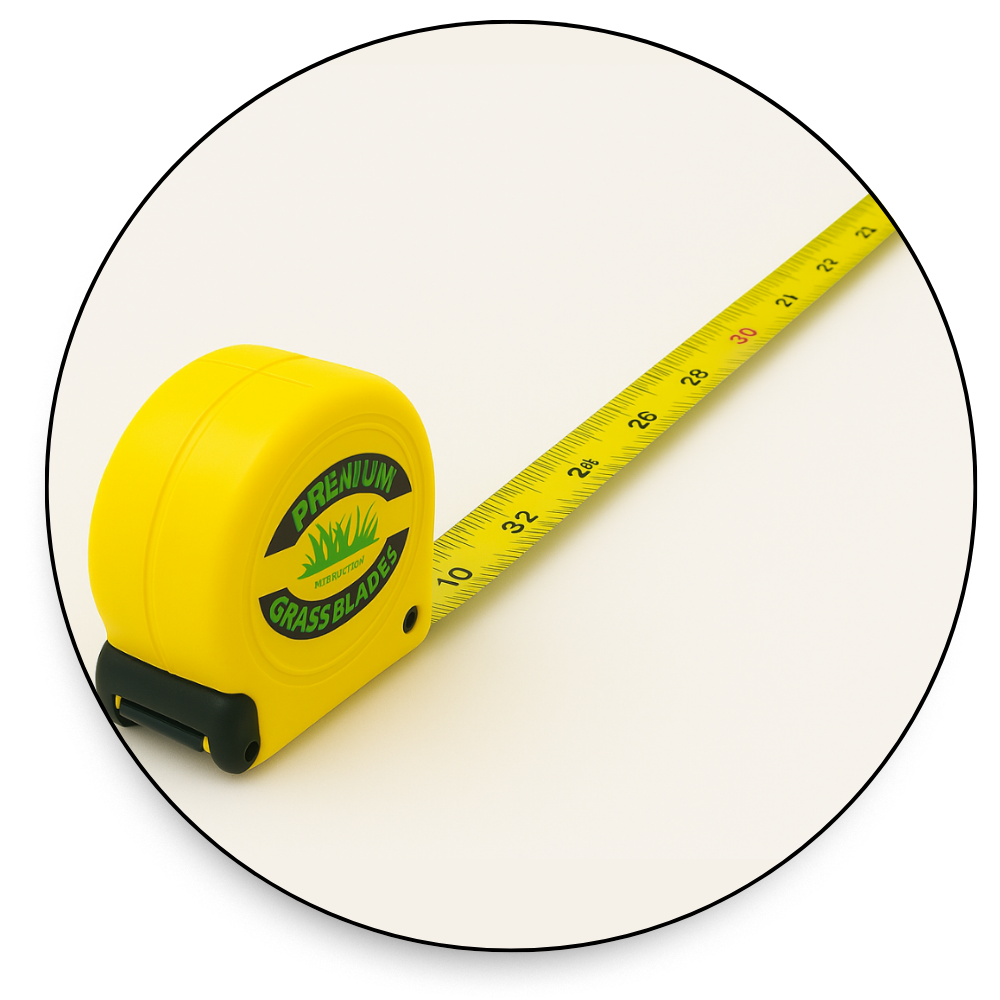
Tape Measure and Marker: Precision it vital in turf installation. A tape Measure accurately measures the area and the turf, while a marker indicates he cuts should be made.

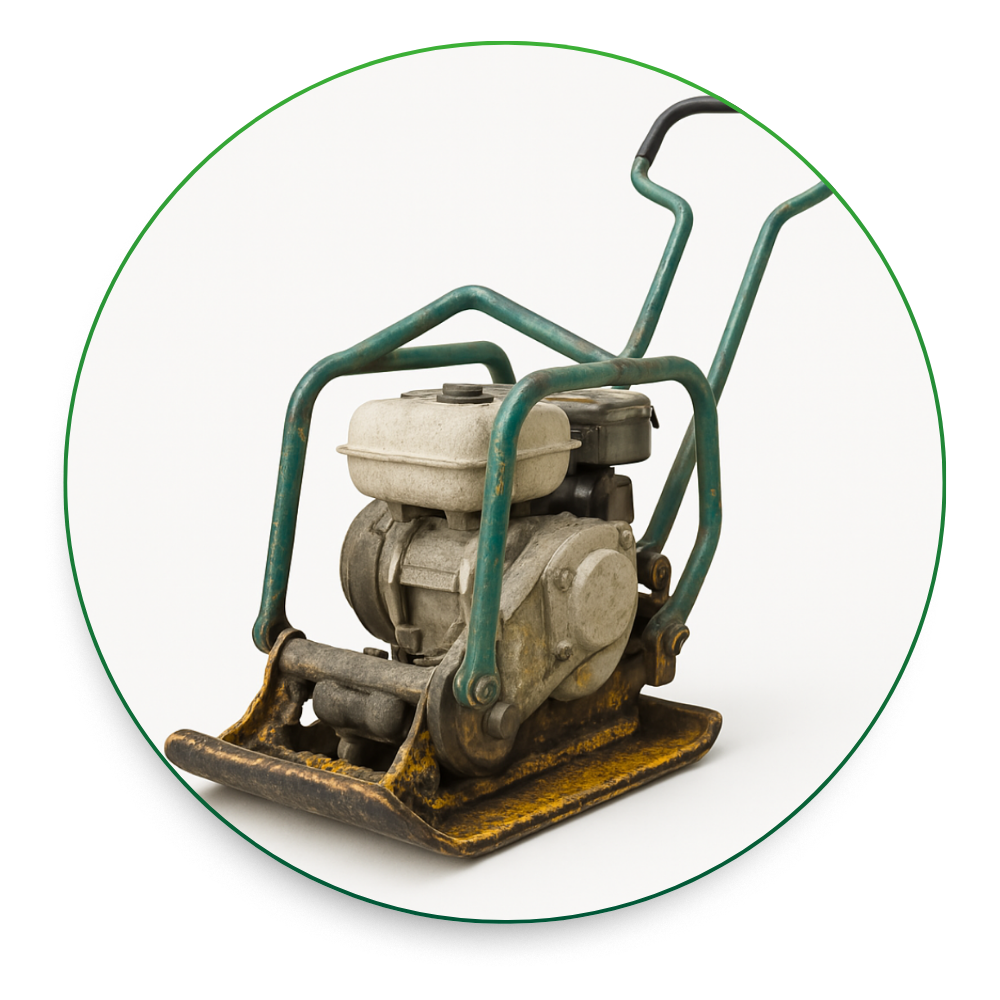
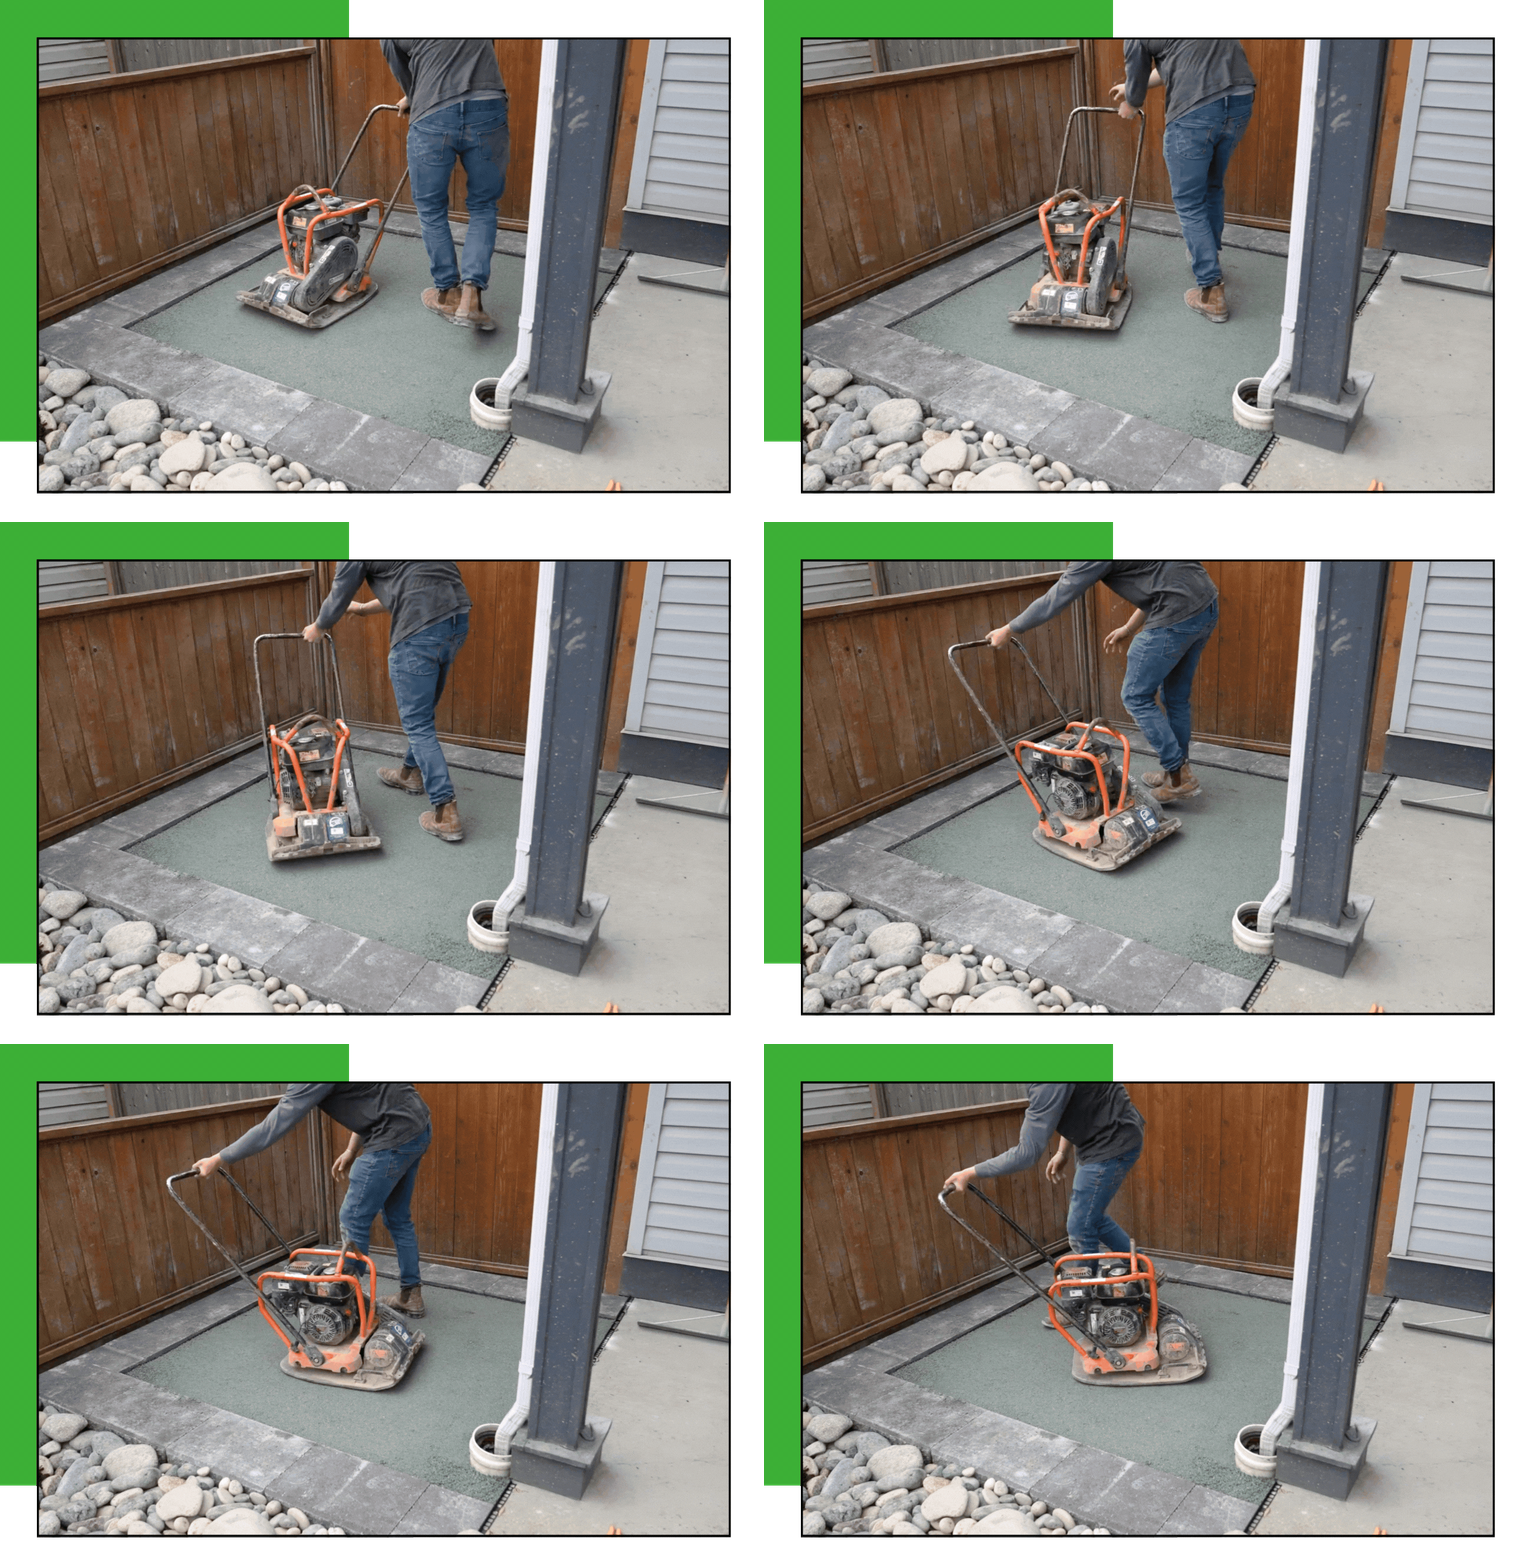
Plate Compactor: This motorized tool is crucial for compacting the base material (gravel or sand), ensuring a stable and flat surface for the turf installation. Proper compaction prevents settling and unevenness.

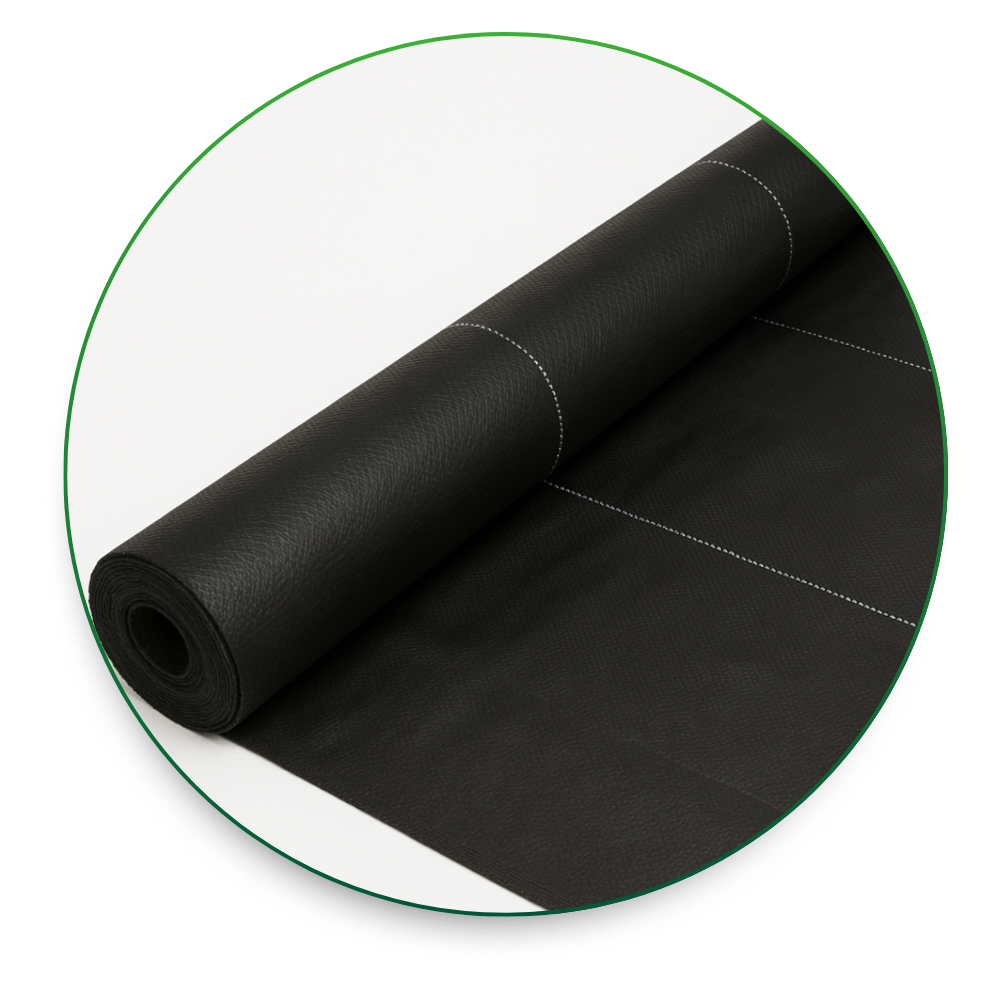
Weed Barrier: Prevents growth under artificial turf, ensuring a clean, maintenance-free surface. while also dampening noise from crusher dust against the turf backing.

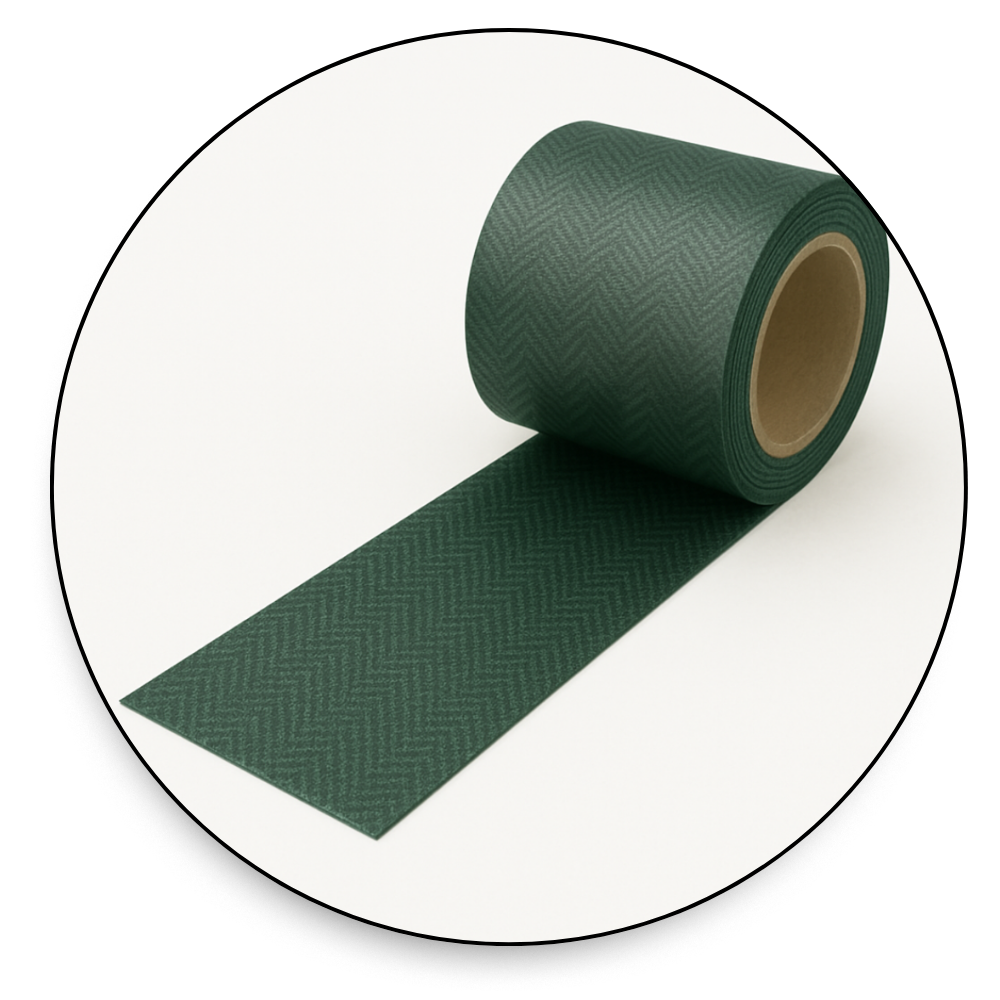
Seam Tape and Adhesive: For installations that require multiple pieces of Turf to be joined, seam tape and an outdoor solid adhesive are used to securely bond the edges together, preventing them from lifting or separating.

Landscape Staples and Nails: These are used to secure the perimeter of the turf and any seams to the ground. Staples also hold down the weed barrier fabric beneath the turf.

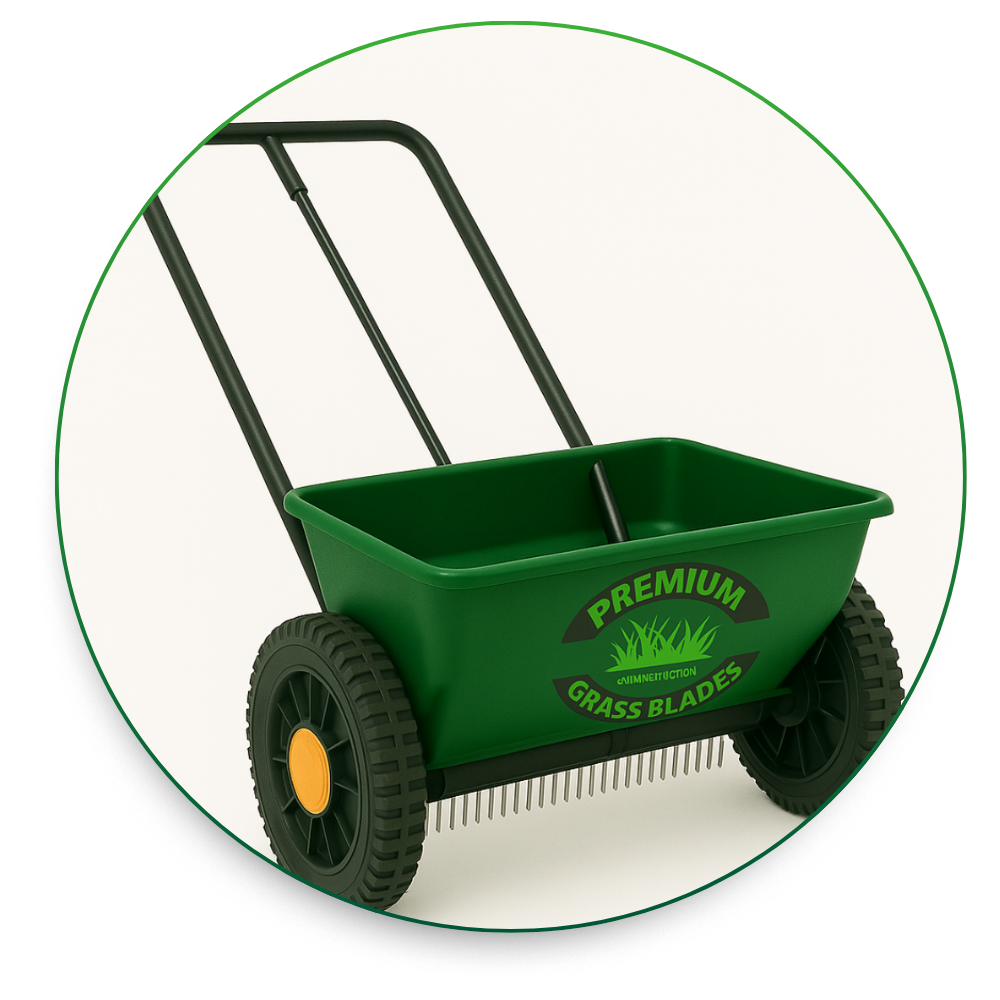
Drop Spreader (Optional): Turf installations need infill to supports blade structure and add weight, a drop spreader ensures infill is evenly distributed.

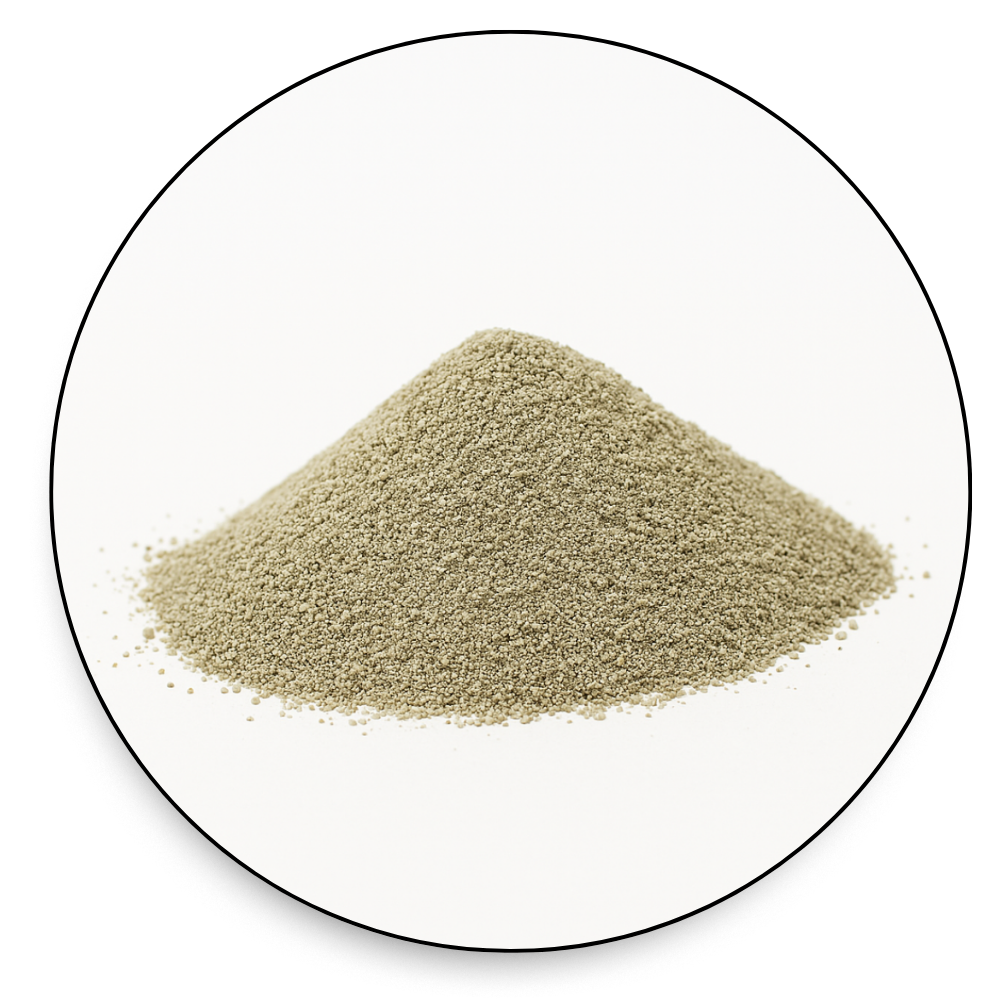
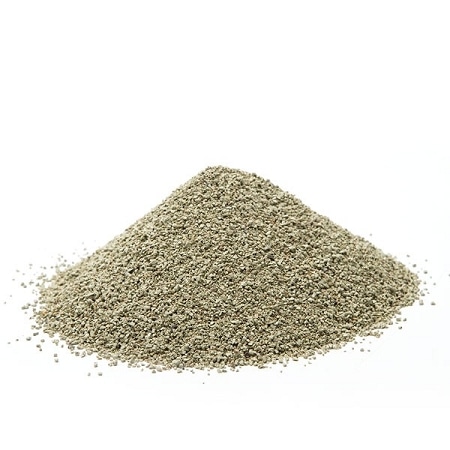
Infill: Zeo-Odour Zeolite or Silica Sand Infill supports artificial turf blades, adds weight, enhances durability, and improves overall appearance.

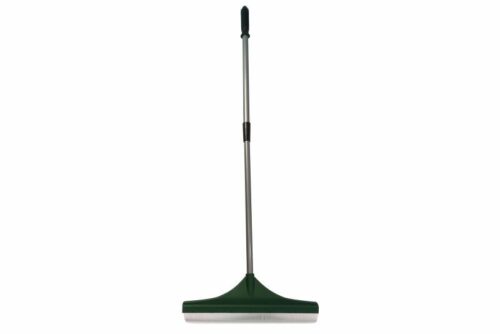
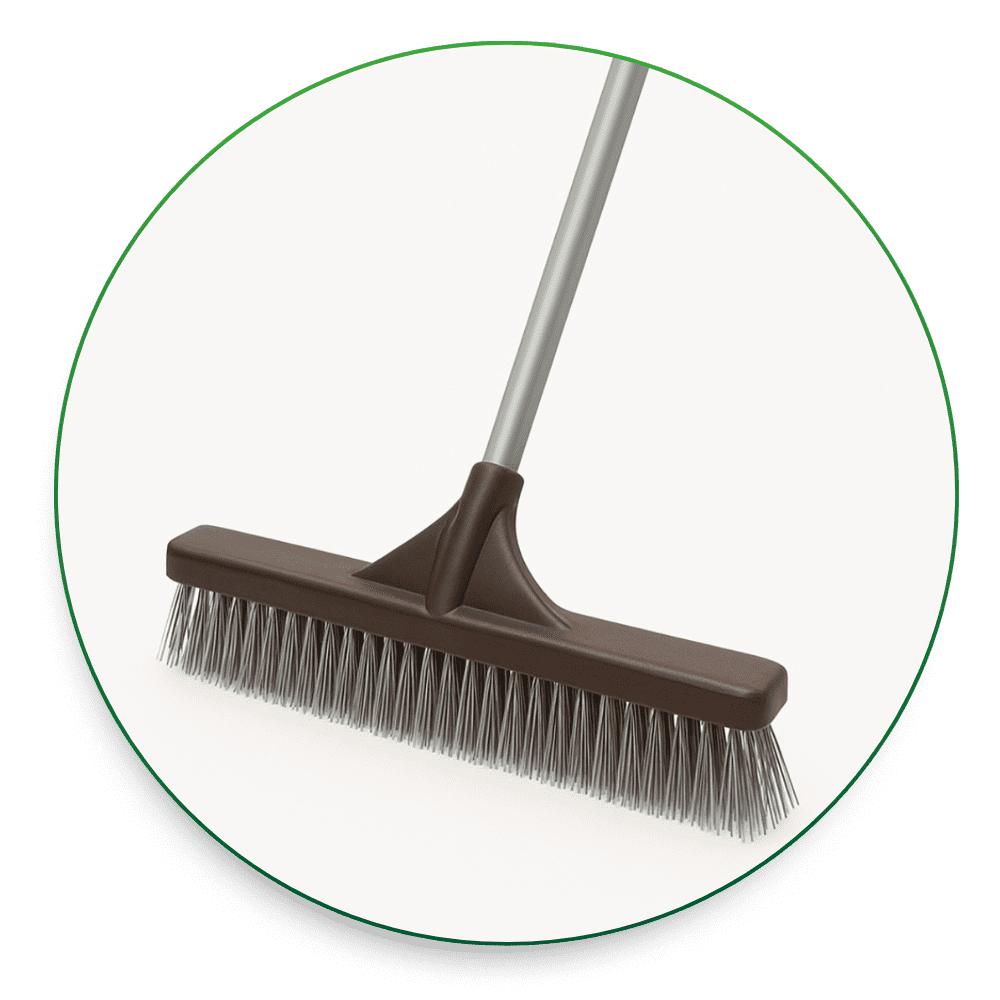
Power Broom or Turf Rake: Once the turf is installed, a power broom or a turf rake is essential for “fluffing” the turf, helping the blades stand upright for a natural appearance.

1. Removal of Existing Grass

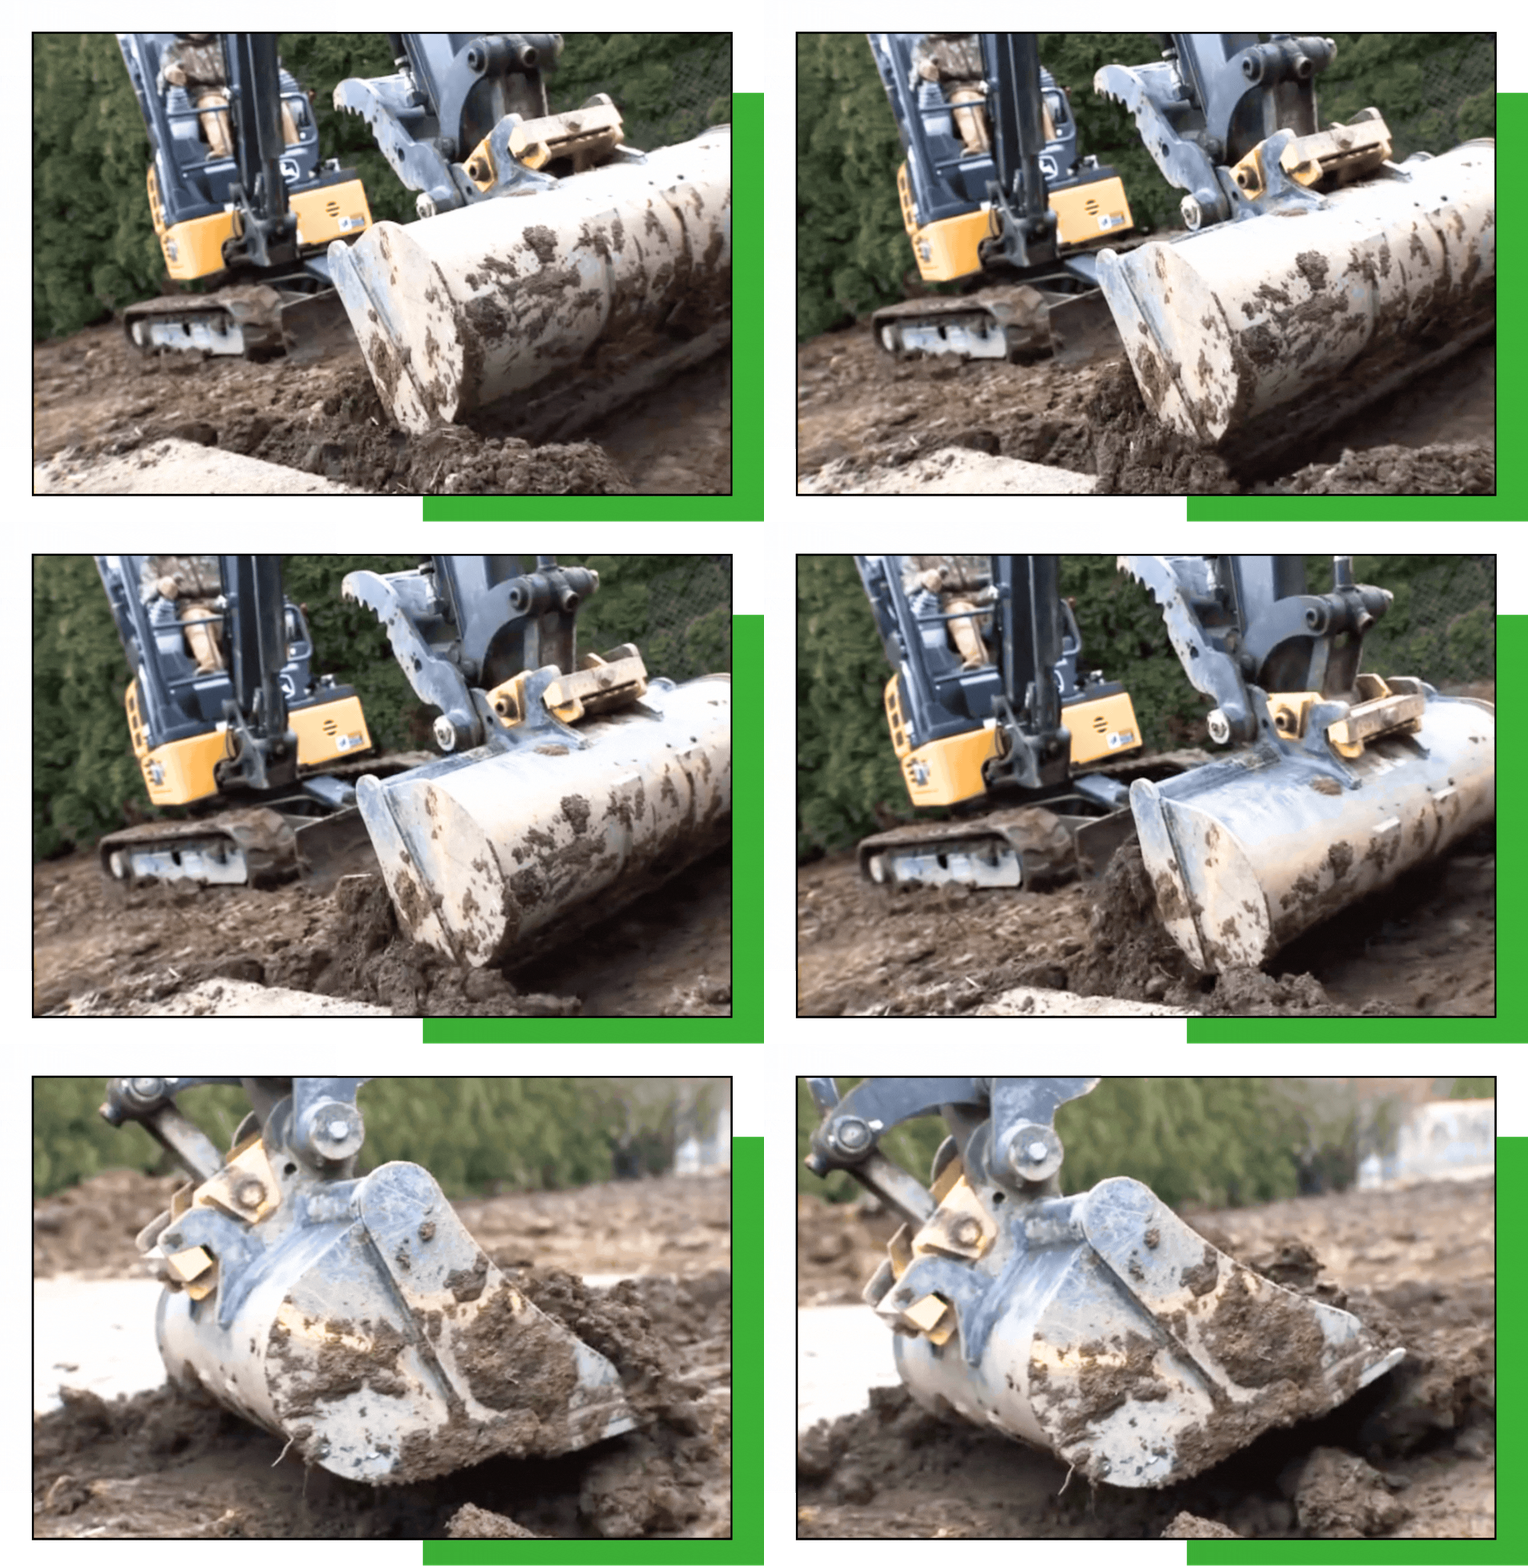
Start by eliminating any current grass with a turf cutter or shovel. Dig out the soil to a depth of 1-6 inches, ensuring the overall depth is 5-8 inches to install the foundation layers properly. Consider excavating an additional 2 inches and laying down a protective metol mesh in regions prone to mole activity. Once the excavation is complete, smooth and flatten the soil to prepare for the subsequent installation phases.

2. Establishing a Robust Drainage System

The underlying drainage system significantly influences the performance and durability of your Premium Grass Blades turf.

LET’S EXPLORE THE MOST EFFECTIVE DRAINAGE SOLUTIONS:

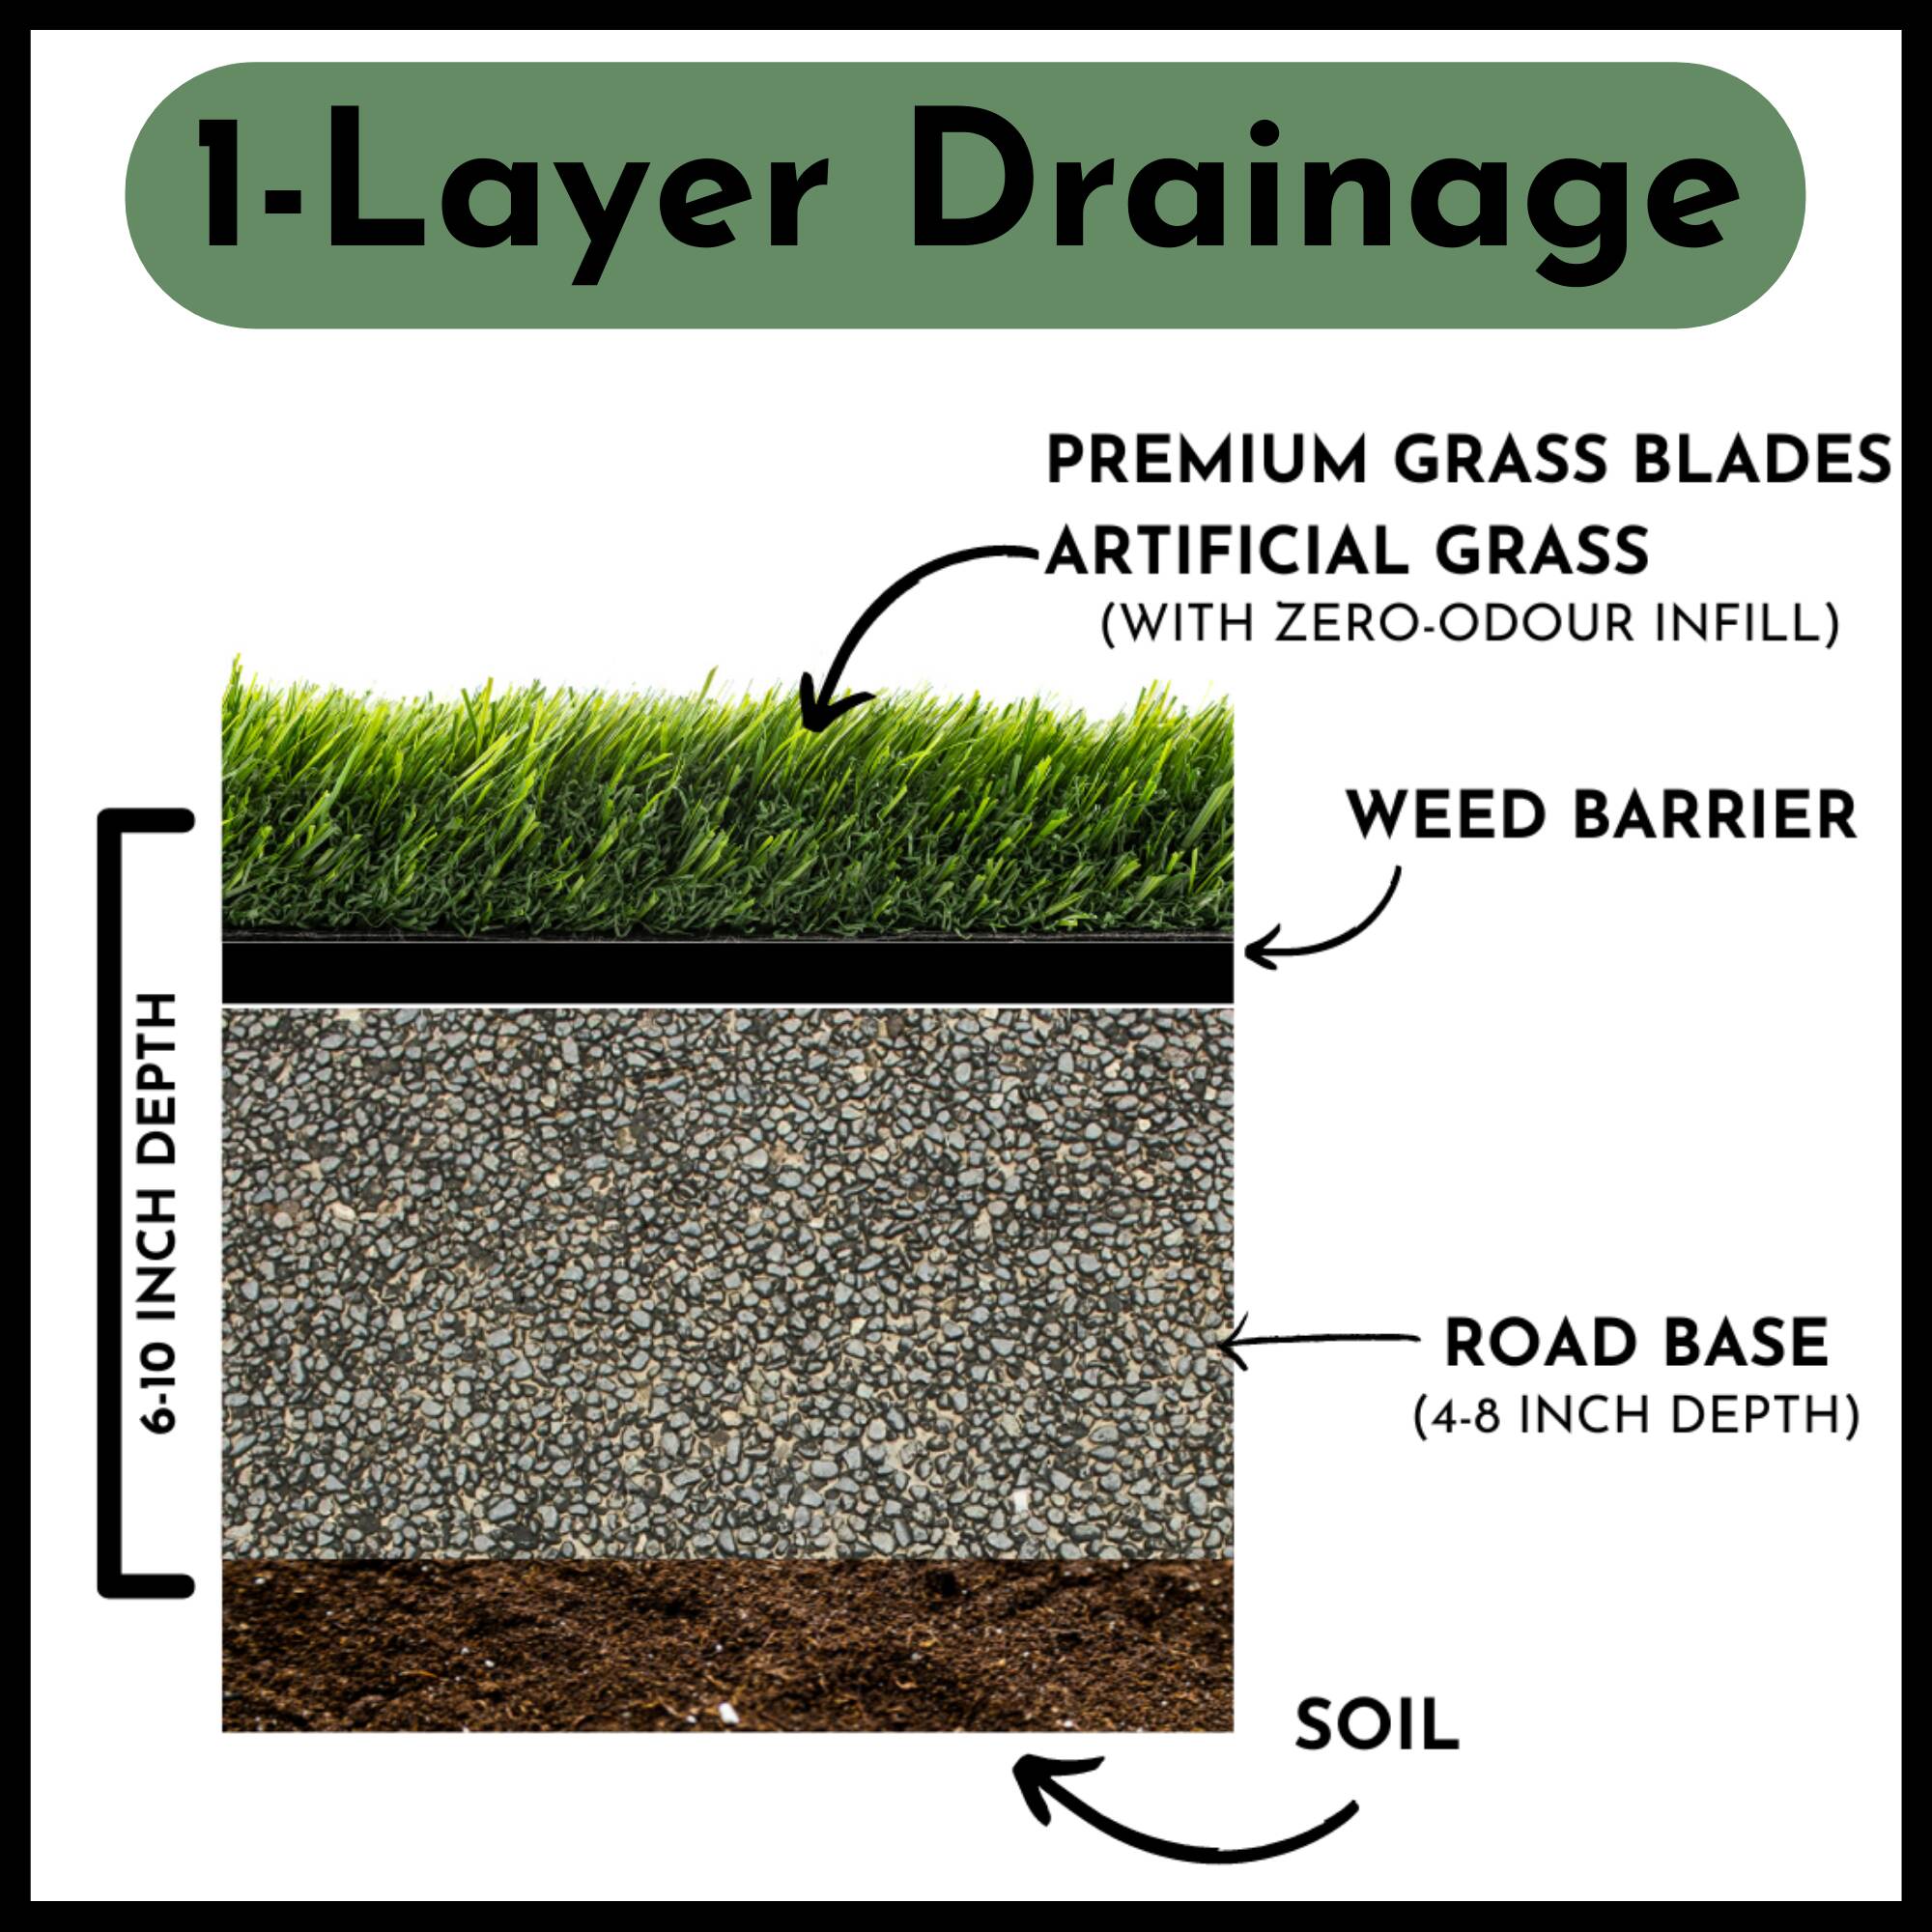
Single-Layer Drainage

Choose this method for areas without puddling. Start by removing the old turf and levelling the soil, then evenly spread a 4-8 inch layer of rood hies, compacting it in stages for a uniform base. Correct any uneyenness by filling low spots and shaving bumps, followed by additional compaction. Ensure the final surface is slightly low, than surrounding paths or landscaping, accommodating turf thickness to prevent tripping hazards. Adjust the recess based on your turf’s height to ensure a smooth transition and maintain your installation’s aesthetic appeal and safety.

1-Layer Drainage

Multi-Layer Drainage

We advise achieving a total depth of 6-10 inches for a dual-layer droinoge system. You can begin by removing the turf and levelling the soil. We recommend spreading approximately 4 inches of road base or a mix of 3M-Mch crush and fines, ensuring even distribution before compacting with a plate tamper at every 2-inch interval. We suggest multiple posses with the romper to ensure thorough compaction of the layers. The final step involves adding a layer of 1/2 to 1 Ash fines, followed by compaction. Adjustments should be made to level any uneven areas and smooth out any protrusions, with another round of compaction to follow. Please ensure the top loyer is slightly below grade level to accommodate the 1.5 to 2 inches of turf, preventing tripping hazards near sidewalks or walkways. It is essential to calculate the height of each layer precisely to ensure the turf is positioned at the ideal height.

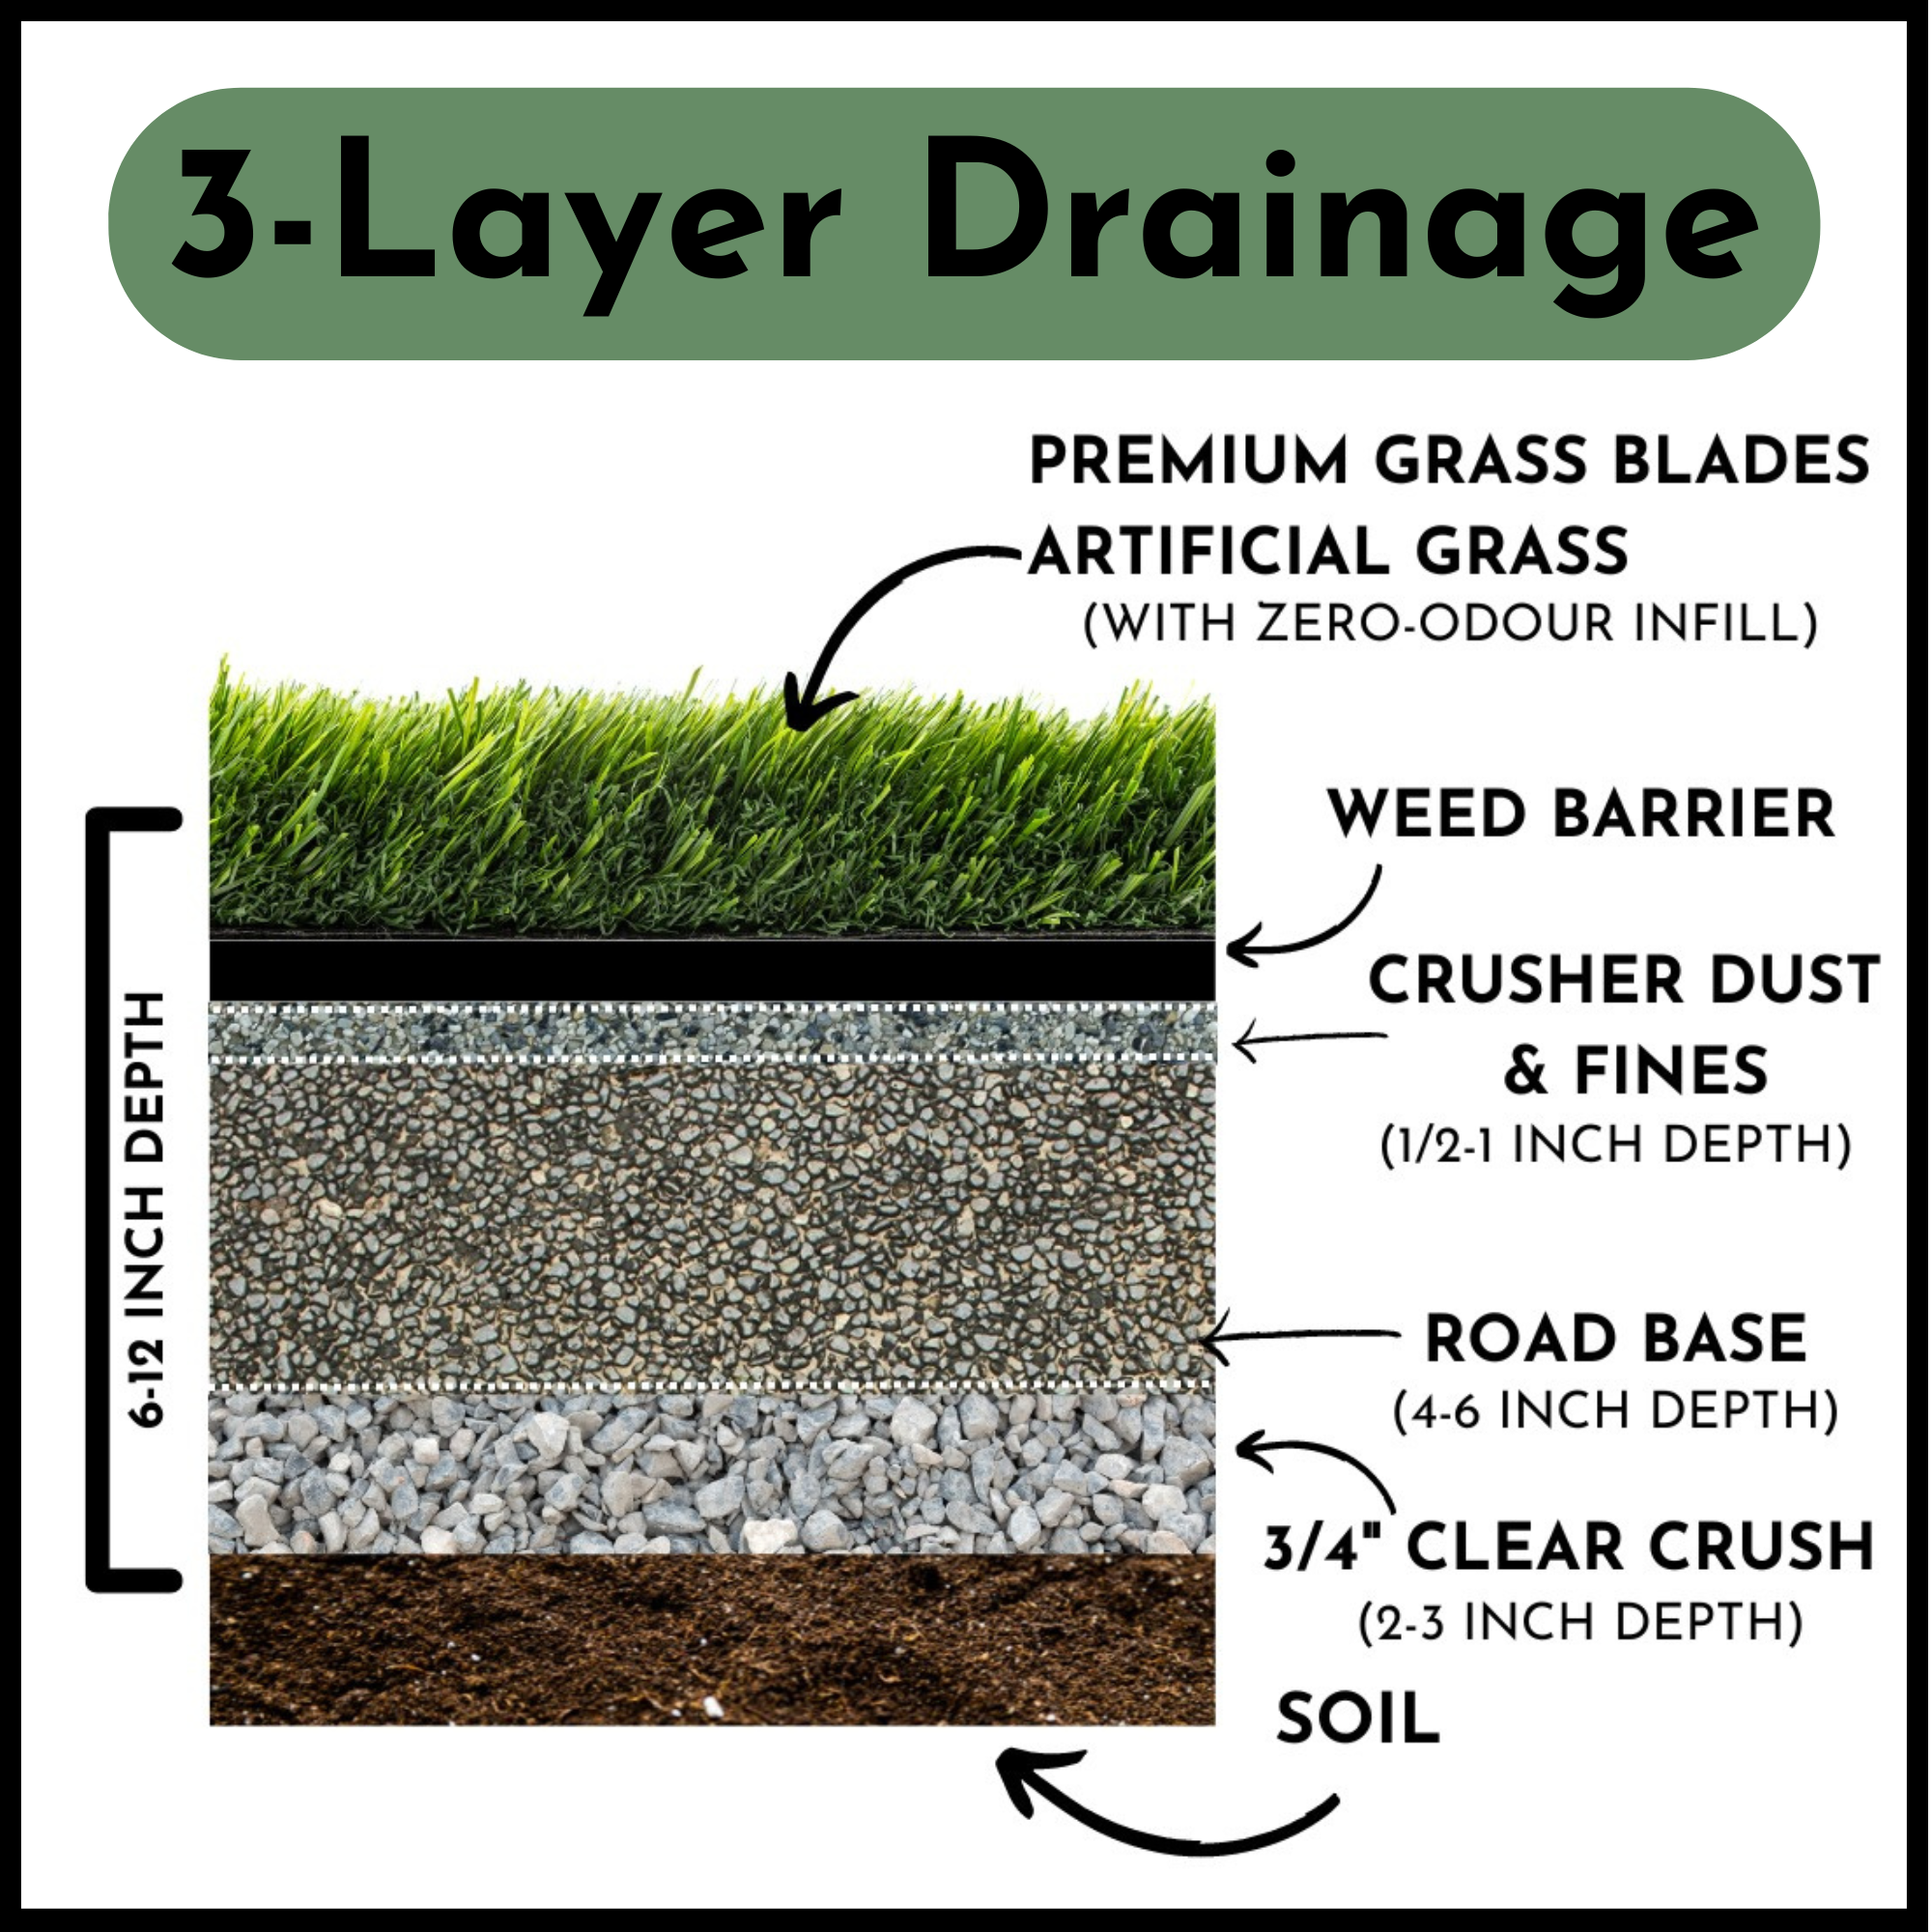
A total depth of 6-12 inches is recommended for a triple-layer drainage system. After turf removal and soil levelling, distribute 2-3 inches of {:-inch clear crush aggregate, followed by 4 to 6 inches of road bole aggregate, and finish with a 1/2 to 1-inch layer of crusher dust or fines, compacting each layer. Ensure even raking and perform several posses with the compactor for each layer to achieve optimal compaction. Adjust for any discrepancies in height and remove any irregularities, with a final compaction to follow. As with the dual-layer system, ensure the top layer is below grade to allow for the turfs thickness, preventing tripping hazards adjacent to sidewalks or pathways. Precise planning of layer heights is cruciol For achieving the correct turf elevation.

2-Layer Drainage

3-Layer Drainage

  • Compaction Tips

Achieve optimal compaction by lightly moistening the aggregate between passes with a compactor Avoid overwatering to prevent a “sponge effect” that can elevate the base improperly. Compact in 2-3 inch increments for thicker aggregate applications, finishing wit lam of crusher fines for a smooth, flat surface. This step is crucial for effectively supporting your Premium Grass Blades turf and ensuring a level playing field.

3. Weed Prevention Layer

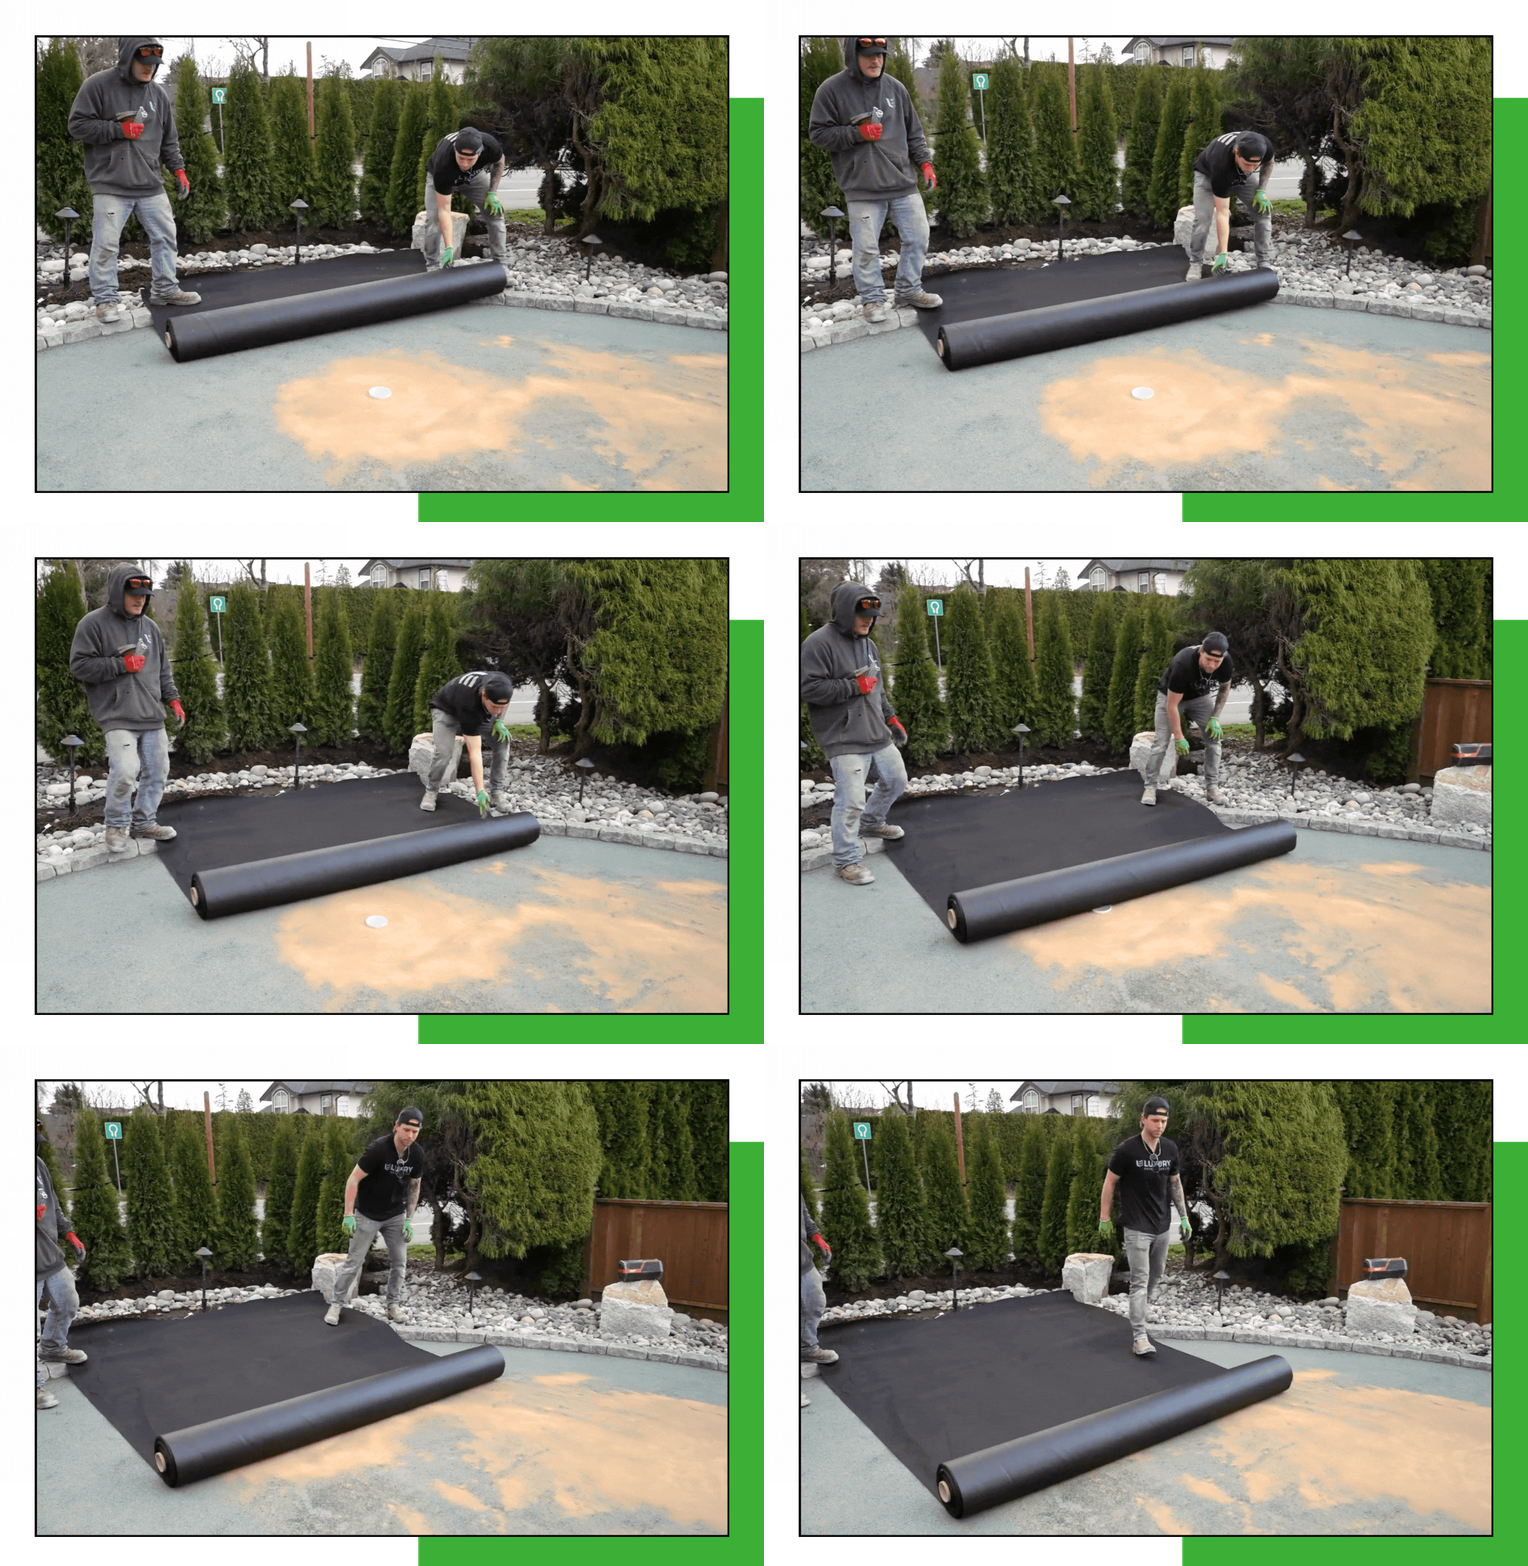
Prevent weed growth and enhance the turf’s stability by laying a high-quality weed barrier fabric across the prepared base. For superior results, utilize Premium Grass Blades landscape cloth, doubling it for enhanced weed suppression and noise reduction, which muffles the sounds of the roadbase ‘crunch’ against the NA backing. Secure the fabric with staples, ensuring it covers the entire area smoothly without wrinkles or gaps.

4. Aligning and Laying the Turf

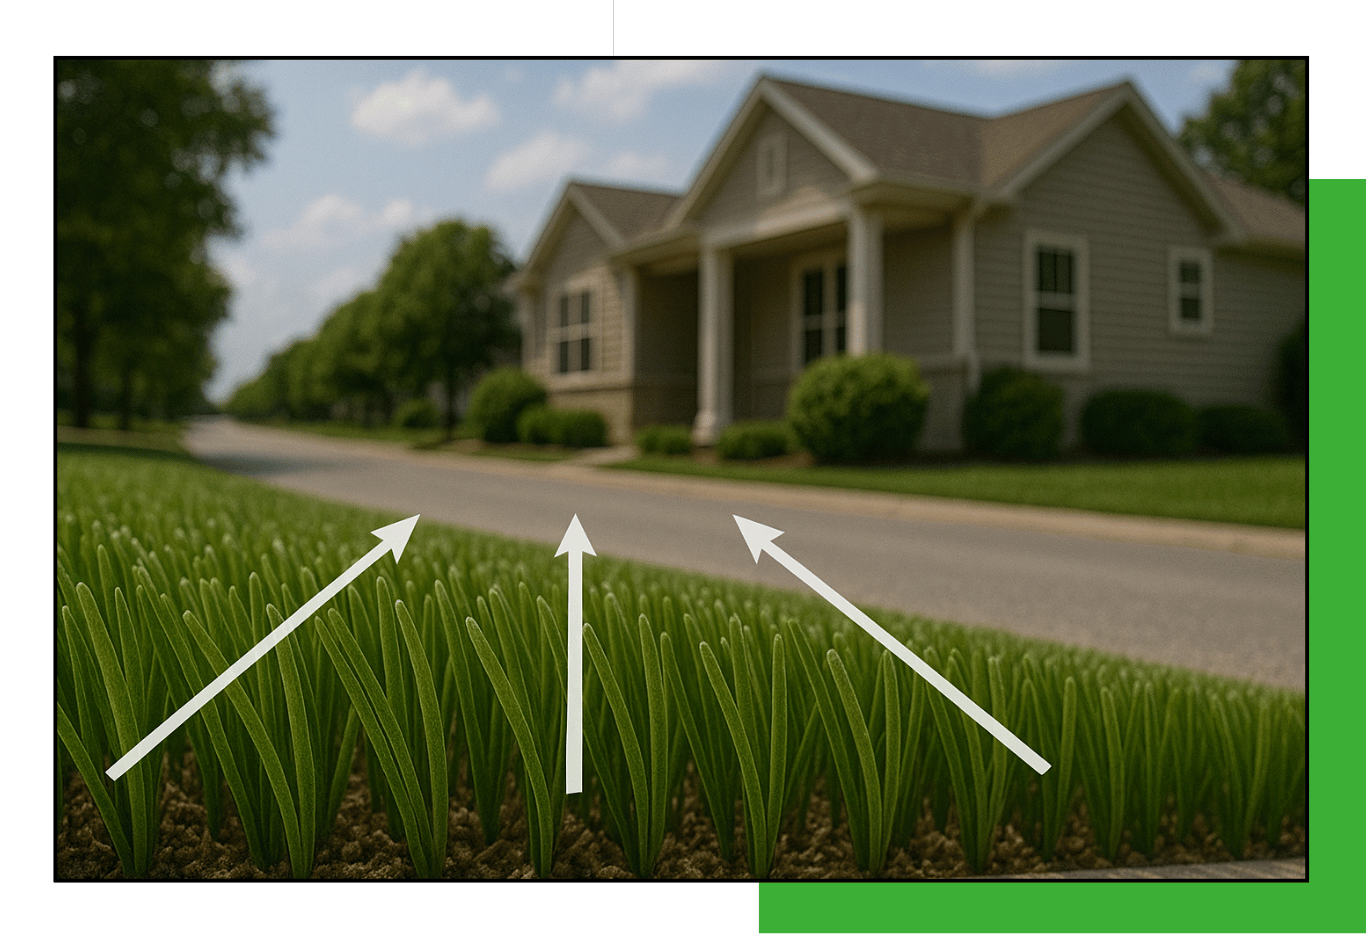
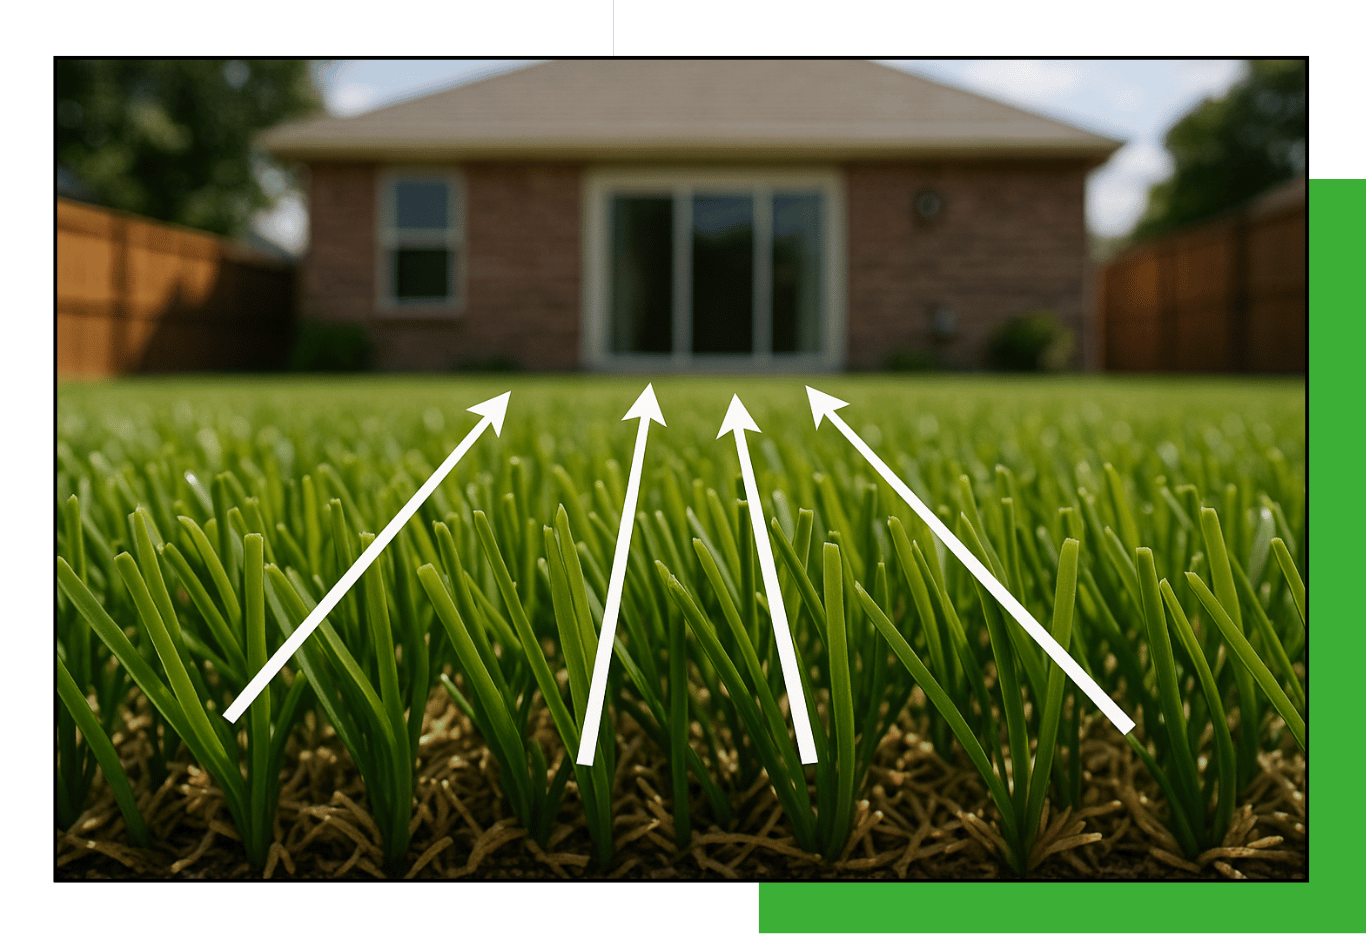
To effectively reduce the artificial turf’s shine sod ensure a natural appearance, careful attention must be paid to the orientation of the turf blades before installation. Premium Grass Blades turf, like all artificial turfs, exhibits a pile direction — an inherent tendency of the blades to lean in o specific direction. Achieving the most authentic and aesthetically pleasing look depends on aligning the turf so that the blade direction faces towards the primary viewpoint, typically your most frequented outdoor space or towards your residence. It is customary to orient the turf grain towards the street for installations in front yards. In contrast, the direction should favour the house or main outdoor gathering areas for backyard placement. While this concept may initially seem complex , the pile direction becomes apparent upon inspection of the turf, allowing for straightforward determination of the optimal orientation.

In scenarios where it is necessary to merge multiple sections of turf, it is advisable to minimize the presence of head seams — longitudinal Mins between turf strips — as they ore notably challenging m conceal. Conversely, side seams, resulting from the lateral joining of turf sections, are less conspicuous and more straightforward to blend, with the turf blades naturally covering the join.

You could also consider allowing the turf rolls to acclimatize in a worm environment, such as a garage for installations in cooler climates before installing. This preparatory step eases the installation process by making the turf more pliable.

When positioning your synthetic grass, aim to align the roll with acorn,, or straight edge, ensuring uniformity in the direction of the turf across all pieces. This alignment is crucial for a cohesive and visually appealing installation, highlighting the importance of consistent pile direction throughout the area.

5. Precision Cutting and Trimming

Achieving expert precision in trimming artificial turf to conform to wall, fences, or other boundaries necessitates meticulous attention, careful technique, and appropriate tools. Frequently refreshed every few minutes or after 10-12 uses, a sharp utility blade is essential for clean, efficient cuts. Start by retracting the turf and pressing it against the base of the wall or fence, ensuring its snugly positioned. Place your blade on the backing of the turf closest to the obstacle, gently lift the turf, and make incremental cuts of 3-4 inch,. Its crucial to periodically by the Of down to check for a precise alignment, maintaining a slight gap—no more than 2/8 mob—from the wall or fence to achieve a flawless edge.

When trimming around corners, trees, or posts, the strategy involves making relief cuts to eliminate excess material easing the trimming process. Begin these cuts from the furthest point from the center, moving outward from the backing to the edge. This technique is particularly effective for navigating obstacle, allowing incremental adjustments to ensure the turf moulds accurately to varied shapes and angles. Maintaining a sharp blade throughout this process is vital for achieving clean cuts without fray,g, necessitating regular blade changes.

The final objective is to ensure that the turf seamlessly integrates with the surrounding landscapes, skirting around obstacles without direct contact. This approach not only enhances the aesthetic appeal of the installation but also preserves the integrity and appearance of the turf, ensuring a professional, natural-looking, finish.

6. Securing the Turf

After trimming the artificial turf the desired shape, secure it by placing spikes at intervals of approximately half a foot along the perimeter stabilize the turf and minimize movement. In areas without seams, position spikes at wider intervals, roughly every 12-16 inches, proceeding in rows. Ensure the spikes are inserted about 2 inches from the turf edges mound the perimeter. When hammering the spikes or staples into place, apply gentle force to ovoid on depressions in the surface Additionally, do not trap the turf blades beneath the heads of the nails or staples. Gently pull the blades away from the impact area to prevent entanglement, ensuring the nail heads remain visible and do not compress the turf unnaturally.

7. Seaming Synthetic Grass (If Necessary)

For an inconspicuous seam, its critical to precisely trim the entire edge of both turf pieces along their length and ensure the seam width remains consistent. The technique significantly reduces the visibility of the seam. We recommend the exclusive use of Premium Grass Blades Self-Adhesive Seaming Tape for DIY projects due to its user-friendly application compared to traditional glue methods.

The cutting process for each turf pie varies slightly. Trim one piece of three gauges in from the edge, cutting at the start of the indicator, while the corresponding piece should be cut three gauges in but at the gauge’s end. This approach facilitates an overlap, enhancing seam camouflage and maintaining uniform gauge spacing.

After cutting, anchor the edged side of one turf piece to your border, spacing stakes every three to five feet, positioned one foot away from the seam. Align the second piece to match the edges and eliminate gaps. Secure it similarly with stakes spaced every three to five feet, one foot inward from the seam’s center, without entirely driving the stokes into the ground to allow for adjustments.

Fold back the turf on both sides of the seam, placing an object on the folded area if necessary to prevent it from unfolding. Position the seeming tape on the ground, securing its ends with stokes. Carefully remove the tape’s protective layer and gradually join the two turf sections, ensuring alignment and preventing the blades or thatch from curling onto the tape. A zipper-like motion facilitates this step and is more efficiently accomplished with two individuals.

After both sides are adhered with tape, staples are utilized along the seam to stabilize the lamed grass. Stretch the turf taut and secure the outer edges with spikes. For any protruding stakes, either drive then, in entirely or replace them with staples. Finalize the Installation by hammering nails along each seam side at six-inch intervals, keeping a minimum distance of one inch from the edge to prevent the turf from curling over the nails.

8. Brushing Up the Turf

Employ a power broom or a specialized turf rake to elevate the blades of your Premium Grass Blades turf, ensuring it brushes against the direction of the pile for optimal results. We highly recommend acquiring the Premium Grass Blades Turf Rake for those new to turf maintenance. Designed with nylon tines. this tool penetrates the turf to uplift and rejuvenate flattened blades, significantly simplifying the grooming and ongoing upkeep of your turf compared to traditional bristle brooms.

9. Enhancing Turf Stability with Infill Application

Following the upright adjustment of the turf blades, it is essential to distribute a uniform layer of infill sand across the surface of the lawn. This procedure anchors the grass securely to prevent shifting or sliding, maintains the blades upright and fortifies them against UV damage. Ensure the turf and the sand ore moisture-free before application to avoid clumping. Utilizing a turf rake or a power broom can significantly facilitate this process.

For Premium Grass Blades artificial synthetic grass, we advise on infill application ranging from 1004 pounds per square foot, varying by turf type. The recommendation for Premium Grass Blades Putting Greens is 2 to 3 pounds of putting green silica sand per square foot. Applying the appropriate quantity of infill extends the turfs lifespan beyond IS years and ensures the validity of your warranty; inadequate infill could lead to a voided warranty and diminish the turfs durability.

For households with pets, we advocate for Zeolite sand, specifically designed to neutralize odours and lower turf temperatures during the warmer months. Premium Grass Blades ZeoOdour Zeolite turf sand is highly recommended for environments with pets or where the Infill might come into direct contact with young children.

For further details regarding our turf products, please contact us at [email protected].

TIPS AND TRICKS FOR INSTALLING PREMIUM GRASS BLADES TURF

Installation and Preparation:

Turf Edging- Maintain a clearance of 218 inch from walls for optimal turf edging.
Precision Cutting for Seaming: To achieve seamless integration, Ensure at least three rows of stitches are removed from each piece.
Opt for side seams- To avoid visible lines, utilize side seams overhead seams.
Seam Weighting- To enhance bonding, apply a weight, such as a 2×6 with sand on top, to the seam for 24 hours.
Seam Zipping- Ensure a tight seam by employing the zipper method.
Turf Blade Adjustment- Carefully pull bock turf blades when nailing to prevent thorn from trapping under the nail head.
Perimeter Nailing- Place nails around the perimeter, ensuring a 1-2 inch distance from the edge for secure installation.
Turf Ribbon Removal- Trim off the turf ribbon for a neat installation.
Recess or Sink Turf from Walkways- Ensure a smooth transition between turf and adjacent surfaces.

Environmental Considerations:

Gentle Nail Application- Apply nails gently to prevent creating divots in the ground.
Avoid Hammering on Hard Ground- Do not hammer into cold, hard ground to prevent divots.
Avoid Seaming in Cold Weather- Refrain from seaming during cold weather to ensure the best results.
Dry Infill Installation- Only install infill on dry turf to ensure proper application.
Gutter Drainage- Ensure gutters do not drain directly onto turf areas.
Check to are if any windows could be a potential hazard for magnifying heat

Infill Management:

Infill Longevity- Using the appropriate infill can extend the lifespan of your turf by up to a decade.
Infill Usage- Adhere to the recommended amount of infill for optimal performance and durability.
Cost-effective Infill Choices- Using a mix of infills to achieve cooling and deodorizing properties while help on saving costs.
Use the recommended amount of infill- Each turf has its specific lbs per sqft that is required.
Putting Green Infill: Use 2-3 lbs of infill per square foot for optimal putting green performance.
Distributing infill- Use a drop spreader for the distribution of infill.

Maintenance and Aftercare:

Blade Maintenance- Replace or switch blades after every 10 cuts to maintain precision.
Turf Maintenance Services- Premium Grass Blades offers turf renewal and cleaning services.

Drainage and Underlayment:

Drainage Planning- Carefully plan out the depth of your drainage system for optimal performance.
Drainage Layer Compaction- Firmly tamper each drainage layer for stability.
Double Weed Barrier- Use a double layer of weed barrier between crusher fines and putting greens for enhanced weed control.
Barrier Placement- Install the weed barrier between the crusher fines and turf backing for effective weed control.
Backfill for Stability- Backfill newly poured retaining walls or foundations on new projects to ensure stability and proper drainage.
Smooth Top Drainage Layer- Ensure the top drainage layer is smooth, especially crucial for putting greens.

Design and Orientation:

Pile Direction for Front Yards: Direct pile towards the street for front yard installations.
Pile Direction for Backyards: Direct pile towards the house or the main focal point for backyard installations.
Seam Spacing: Maintain proper distance between seamed turf sections to prevent the appearance of a ‘mohawk’.
Avoid Excessive Gaps When Seaming: Ensure a seamless appearance by avoiding large gaps.
Use Wire Mesh for Additional Support for Moles: Incorporate wire mesh for added durability against wildlife.
Use Premium Grass Blades Weed Barrier: Employ for all projects except those involving dogs to enhance weed control and durability.
Put More Infill in Putting Greens for Fast Ball Roll: Adjust infill density for desired putting green performance.

Warranty

Congratulations on choosing Premium Grass Blades! Our artificial turf comes with a 15-year limited warranty for purchases after March 1, 2024, ensuring quality and durability. This warranty applies to the original buyer and covers landscape artificial turf installed and maintained according to PGB guidelines.

PGB LIMITED 15-YEAR PRODUCT WARRANTY

Effective on all Premium Grass Blades Artificial Turf Purchased after March 1, 2024

We take immense pride in the quality and durability of our artificial gross products. This warranty document outlines the terms and conditions of your warranty coverage to ensure your satisfaction and peace of mind for Premium Gross Blades artificial turf. For this document’s purposes, the term PGB will be interchangeable with Premium Grass Blades. All landscape artificial turf, purchased after March 1st, 2024, unless otherwise stated, is covered by PGI5s fifteen Year Limited Warranty. The I5-year Limited Warranty is only valid for original purchasers From the day the artificial turf was purchased. The turf must be installed following PGB’s installation guidelines and specifications. The turf must be maintained following PGB’s maintenance recommendation and such maintenance continued throughout the warranty period. Neglect of the turf or improper installation and/or usage will void the warranty. Failure to provide proper evidence or to follow PGB’s instructions will not be covered under warranty. Failure to follow the advised infill amounts will also void the warranty. The original invoice must be presented at the time of claim. Installation guidelines and specifications along with turf care recommendations can be obtained from your dealer or PGB’s website, https://premiumgrassblades.com.

Warranty Coverage
Effective on Artificial Turf Purchased abler blotch 1st, 2024 What does PGB’s I5-year Limited Warranty Cover?

Backing: PGB warrants that residential turf under regular and normal use, when installed and maintained as recommended by PGB’s will meet industry standards for tuft bind and will not delaminate from the face of the turf. Our landscape turf is manufactured specifically for cold North American winters and worm summers but is engineered for general landscape applications only. Blade Degradation: PGB hereby warrants that its residential landscape artificial turf, when installed and maintained in accordance with the recommended procedures for proper general landscape use and applications, shall be free from ultraviolet degradation, which may result in blade deterioration or loss. Failure to meet this standard is defined as the loss of 50% of the tufted product’s blade, based on the original weight of the product at the time of manufacturing, as per the test method ASTM D5848. Any actual degradation shall be evidenced by a deterioration of the yarn and loss of pile height. Its important to note that failure does not encompass a decrease in the pile height of the face yarn due to surface compression resulting from normal wear. Please check out our Warranty details online for exclusions and specifics, or contact us directly at [email protected]

Warranty Procedures: In the event of any warranty claim, the initial purchaser is obligated to promptly notify the authorized PGB Dealer Sr writing with. 90 days of the issue becoming evident, accompanied by the following documentation:

A valid proof of purchase, and comprehensive description of the issue encountered and/or photographic evidence or physical samples elucidating the nature of the warranty concern. Warranty Service: In the event of discovering a covered defect, Premium Grass Blades shall either undertake repair or offer credit for replacement. The credit shall be equivalent to the original purchase price, prorated over the I5-year warranty term, with the prorated material value to be calculated ot o rote of less than one-fifteenth (1/15) per annum from the date of purchase.

For all products utilized in commercial, non-residential, or sports applications, including Putting Green materials, 8-year warranty period applies. In such instances, the credit amount shall equate to the original purchase price, prorated over the 8-year warranty term The prorated material value is to be covered at a rate of less than one-seventh (1/8) per annum from the date of purchase.

PGB Artificial Grass Warranty Exclusions:

– Installation not compliant with PGB guidelines.
– Discoloration, soiling, or appearance alterations due to pile flattening or distortion.
– Damage from substances that degrade the blade face/turf color, including cleaning agents, pesticide, herbicides, or chemicals.
– Damage from direct or reflective heat exceeding 65° Celsius or from flammable materials, which melt or burn the turf
– Installation in abnormal use areas, including stairs, landings, playgrounds, swings, golf areas or contact sports
– Damage from inappropriate footwear (metal cleats, hard plastic cleats, metal golf spikes) or sports equipment.
– Exposure to excessive wear from abrasion or inadequate sub-base, which can also include improper drainage, and flooding
– Movement or wear due to insufficient or improper infill products.
– Not infilling the turf to the advised infill amounts per type of turf
– Lack of proper maintenance, protection, or repair.
– Products sold online or from warehouses as “as-is”, “remnant”, “roll ends: or “cat-offs” are without warranty.

This warranty is non-transferable and applies solely to the initial buyer. PGB does not authorize any individual or organization to assume or establish any responsibility or liability related to this product. PGB will not be responsible for any indirect, special, or consequential damages resulting from a violation of this limited warranty, or any warranty implied.