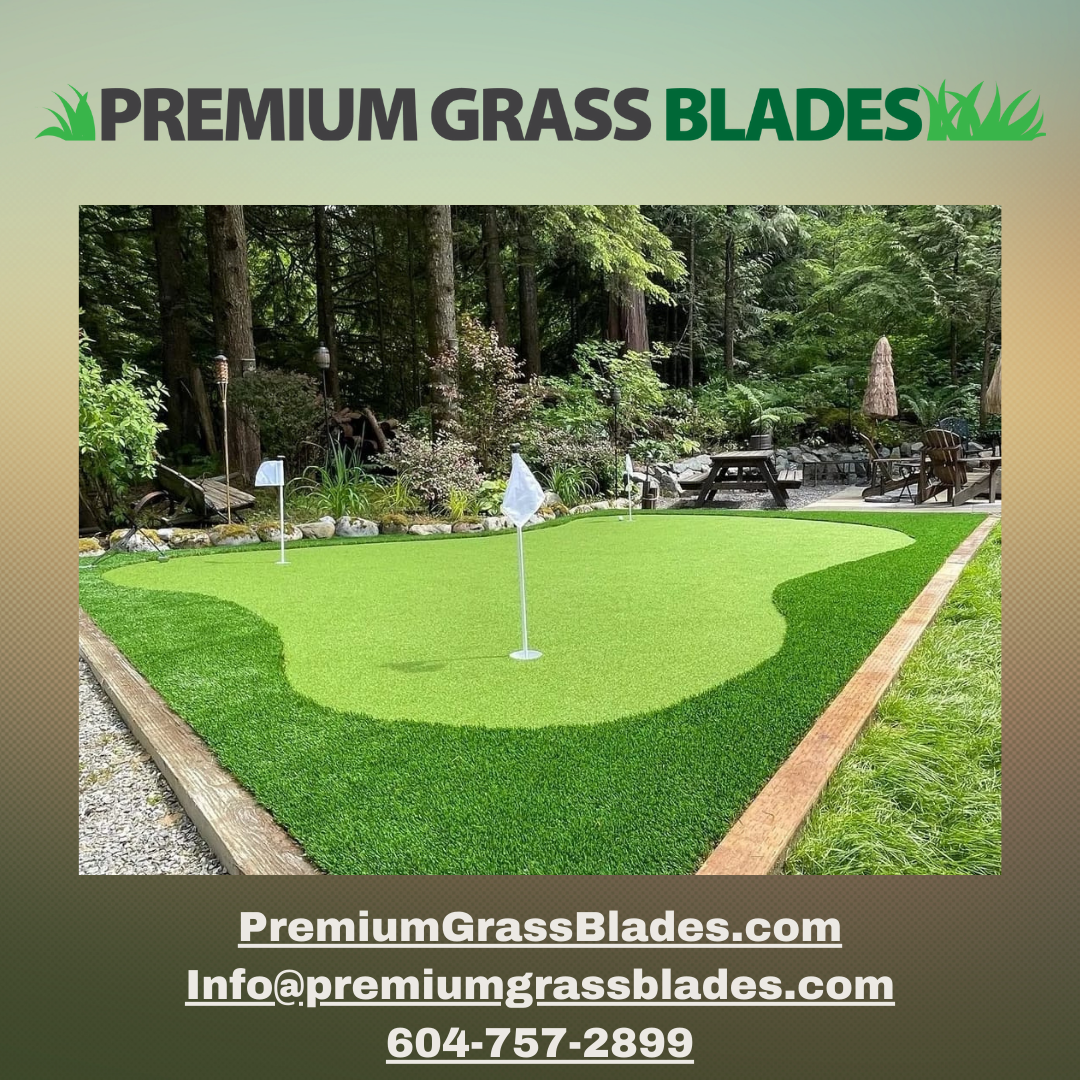
Backyard Artificial Putting Green Installation Guide
Putting greens can be easily added to any yard; want […]
Post Author:
Premium Grass Blades
Date Posted:
August 5, 2022
Share This:
Putting greens can be easily added to any yard; want to do it yourself? Our backyard putting green installation guide makes it simple to do.
Knowing how to install your putting green can be a real money saver. Installation may seem daunting, but with our step-by-step breakdown guide, you’ll have a secure, safe, and sparkling putting green in no time.
There are three main types of installations for artificial putting greens.
- Basic: Putting green is installed next to a concrete edge.
- Basic with Fringe: Putting green is installed next to a concrete edge with fringe.
- Premium: Putting green is installed next to a concrete edge using a bend-a-board.
Here’s our rundown on how to properly install each kind of artificial turf putting green, step by step.
Putting Green Basic Installation
1) To start, excavate 4-6 inches of soil; this vital step assures your Artificial turf will have proper drainage throughout the years.
2) Fill in 4-6 inches of a three ¼ crushed rock or crusher fines as the base, then compact to a nice even level surface; make sure to stay about an inch below your edging. Place down permeable landscape cloth to help protect against weeds.
3) Going along the outer perimeter, attach seam tape to the sub-base using a 6-inch nail on every foot.
4) Tear away the top paper layer of the seaming tape to reveal the glue underneath, and glue the putting green to your seaming tape.
5) Evenly spread 2 pounds of infill per square foot, raking it into the thatch of the putting green. This will help keep your putting green in place as well as help give your ball a smoother ball roll.
Basic Installation with Fringe
1) To start, excavate 4-6 inches of soil; this vital step assures your putting green will have proper drainage throughout the years
2) Fill in 4-6 inches of a three ¼ crushed rock or crusher fines as the base, then compact to a nice even level surface; make sure to stay about an inch below your edging. Place down permeable landscape cloth to help protect against weeds.
3) Going between the fringe and the seaming of the putting green, attach seam tape to the sub-base with 6-inch nails per foot.
4) Tear away the top paper layer of the seaming tape to reveal the glue underneath, and glue the putting green and fringe onto the seaming tape.
5) Secure the fringe with 6-inch nails every 3-6 inches around the perimeter of the putting green. Keep about 1 inch away from the concrete edge.
6) Evenly spread 2 pounds of infill per square foot, raking it into the thatch of the putting green. This will help keep your putting green in place as well as help give your ball a smooth roll.
Putting Green Premium Installation
1) To start, excavate 4-6 inches of soil; this vital step assures your Artificial turf will have proper drainage throughout the years.
2) Fill 3 inches with a three ¼ crushed rock or crusher fines as the base and compact it, leaving about 3 inches before the height of the concrete edging.
3) Lay the bend-a-board around the perimeter. The board will be placed with 12-inch composite stakes, 5 per board, held by nailing or screwing the stake into the board.
4) Fill the area up to the top of the bend-a-board with three ¼ crushed rock or crusher fines as the base, leaving 1⁄4 inch from the top.
5) Tear away the top paper layer of the seaming tape to reveal the glue underneath, and glue the putting green and fringe onto the seaming tape.
6) Secure the fringe with 6-inch nails every 3-6 inches around the perimeter of the putting green. Keep about 1 inch away from the concrete edge.
7) Evenly spread 1 -2 pounds of infill per square foot, raking it into the thatch of the putting green. This will help keep your putting green in place as well as help give your ball a smooth roll.
If you want your synthetic turf to last a long time, it is important to take care of it. First, you’ll want to keep the infill moist. Most synthetic grasses are installed with a sand or gravel infill. This material may tend to dry out, especially in hot weather.
Zeolite infill is a good option, as it won’t get hard when it dries out. It will also keep your turf cool during a hot summer’s day by absorbing moisture and slowly releasing it through evaporation.
Conclusion
Remember that while DIY installation can save you money, it can be demanding in physical labour and may not be for everyone. Every step is critical to making the final product look its best, so confirm this is the right option for you before starting the process. Putting green installations can be difficult for the DIY, so we suggest giving us a call and we can set you up with one of our professional contractors to complete the putting green installation for you. If you have any further questions about installation or putting greens check out our Instagram account or feel free to contact us with any inquiries or related concerns.


